


To comply with business standards and industry regulations, organizations need to protect sensitive information and prevent its inadvertent disclosure. Examples of sensitive information that you might want to prevent from leaking outside your organization include financial data or personally identifiable information (PII) such as credit card numbers, social security numbers, or health records. With a data loss prevention (DLP) policy in the Office 365 Security & Compliance Center, you can identify, monitor, and automatically protect sensitive information across Office 365. In this article, I am going to give you a step-by-step guide for implementing DLP policies
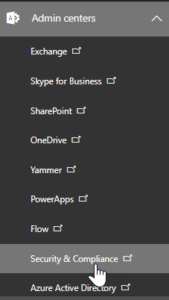
Go to Admin Centers>Security and Compliance Center
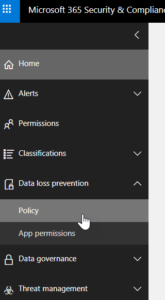
Click the Data Loss Prevention Tab and then click Policy
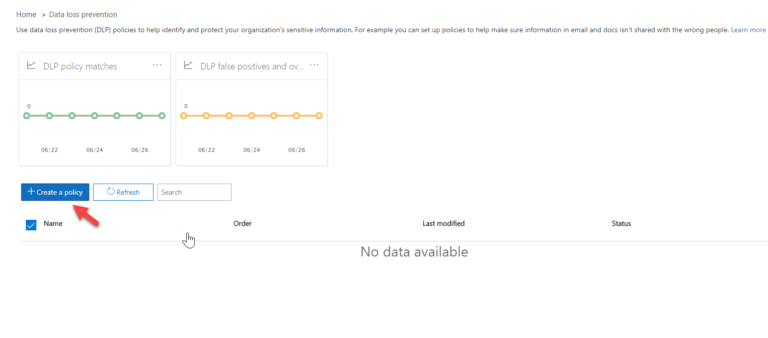
On the new screen that pops up, click +Create a policy
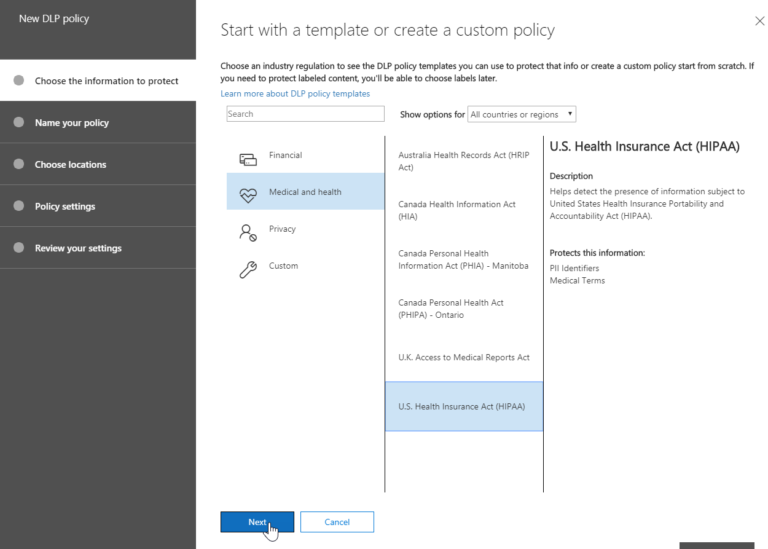
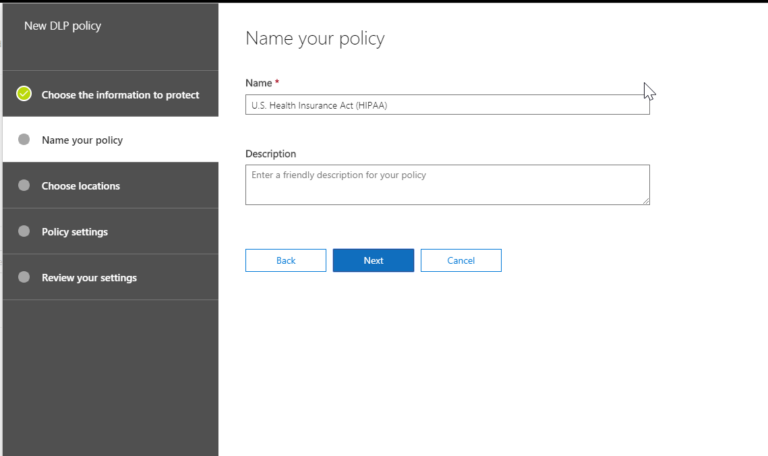
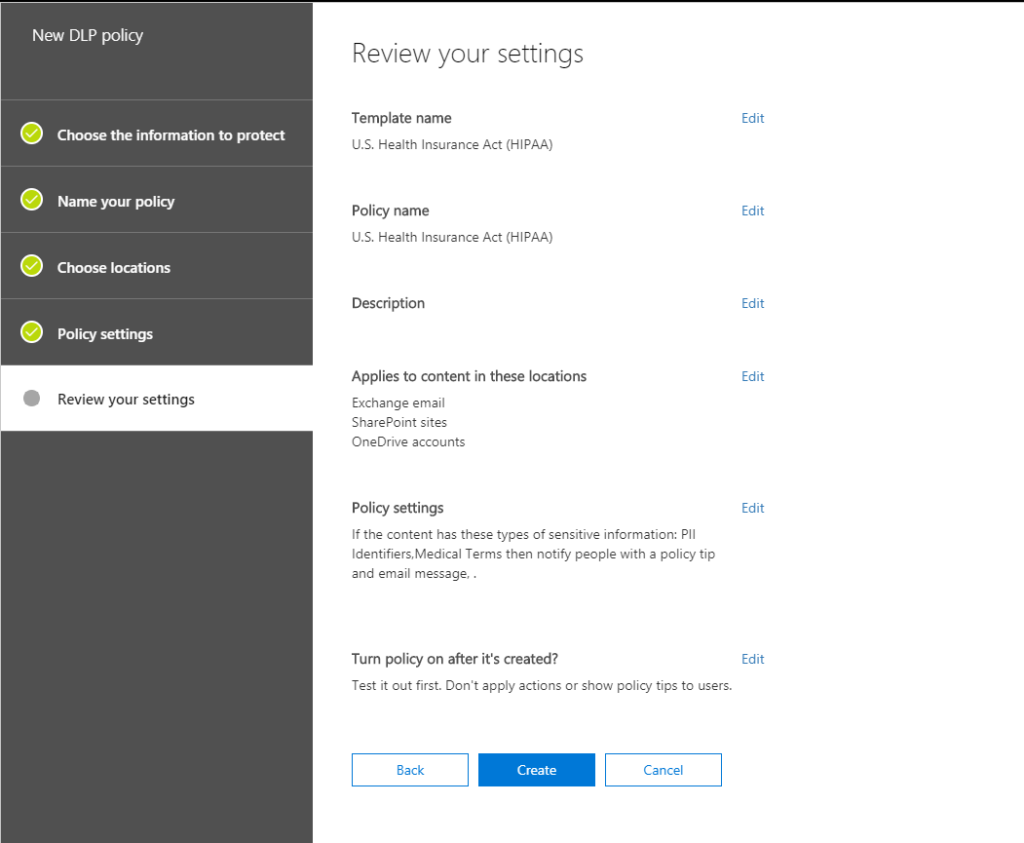
From here you can select from a list of predesigned policy templates or customize your own. For this example, I am going to create a policy for HIPAA compliance
Go to Medical and Health> US Health Insurance Act>Click Next
]Here you can give a name and description for your policy
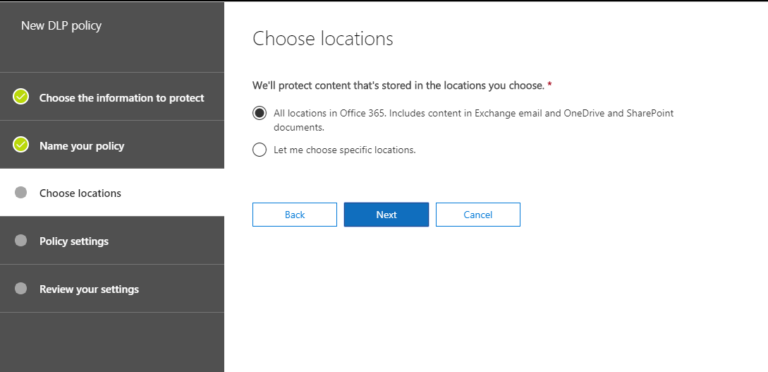
Next, you can chose the locations you want this policy to be active whether that be Exchange Online, OneDrive, or Sharepoint
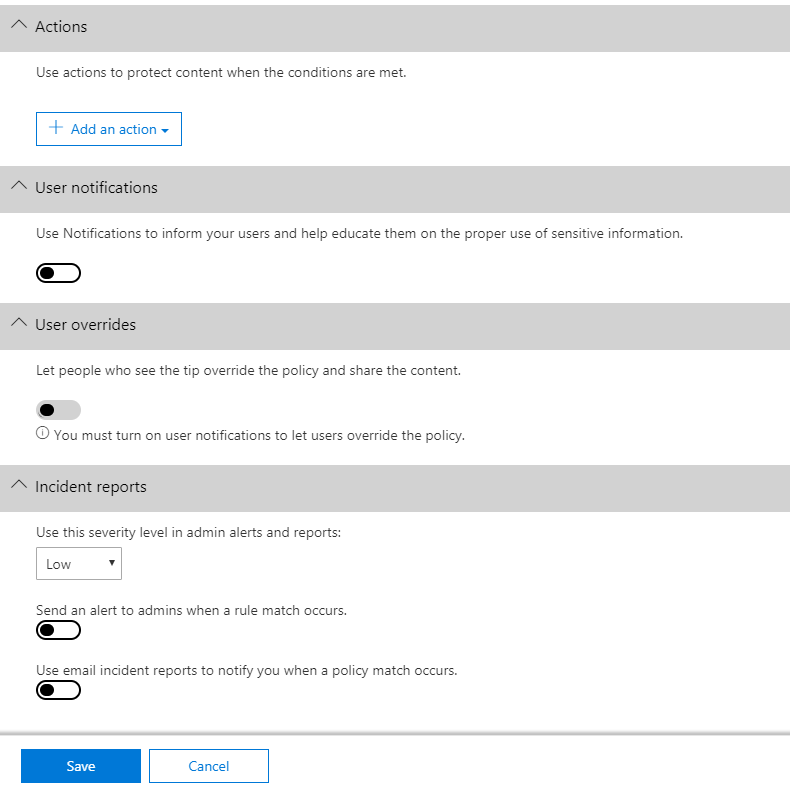
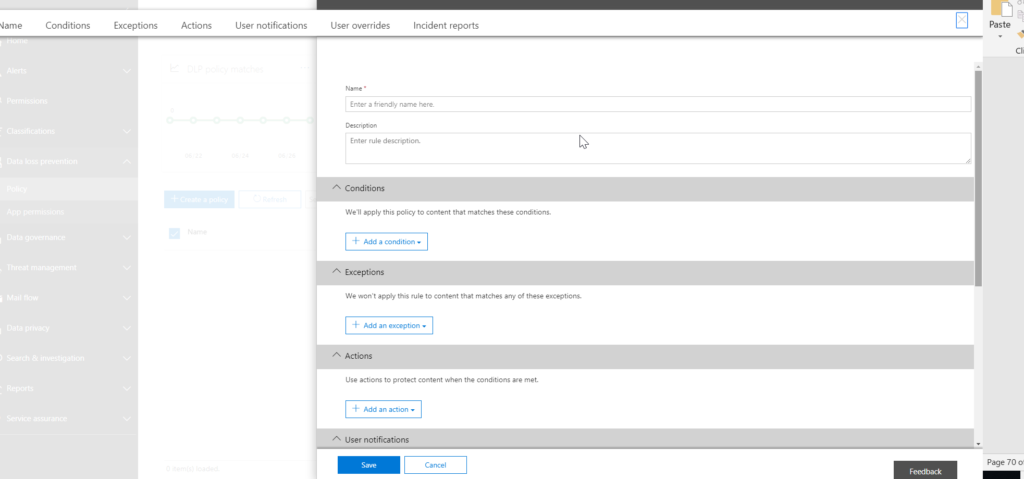
If I click on the “User Advanced Settings” icon, I can create a new rule to apply more granular conditions to my policies. These rules include exceptions, actions to take when condition are met, user notifications, user overrides, and incident reports that are sent to admins when a rule match occurs
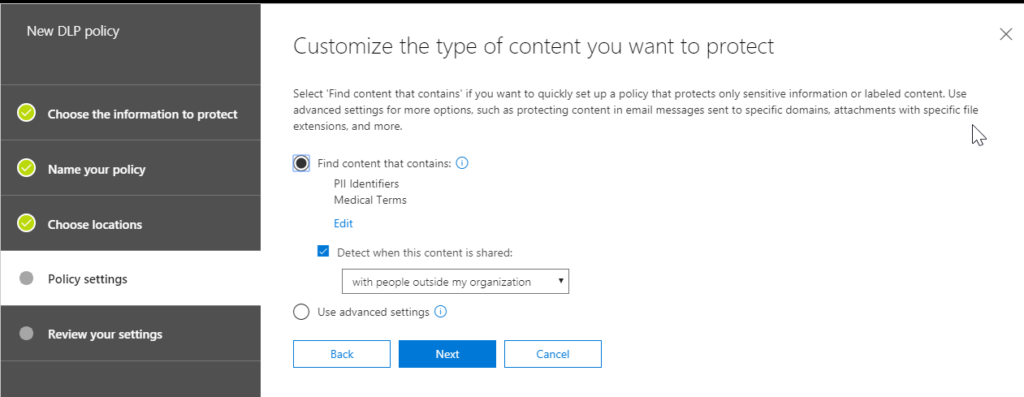
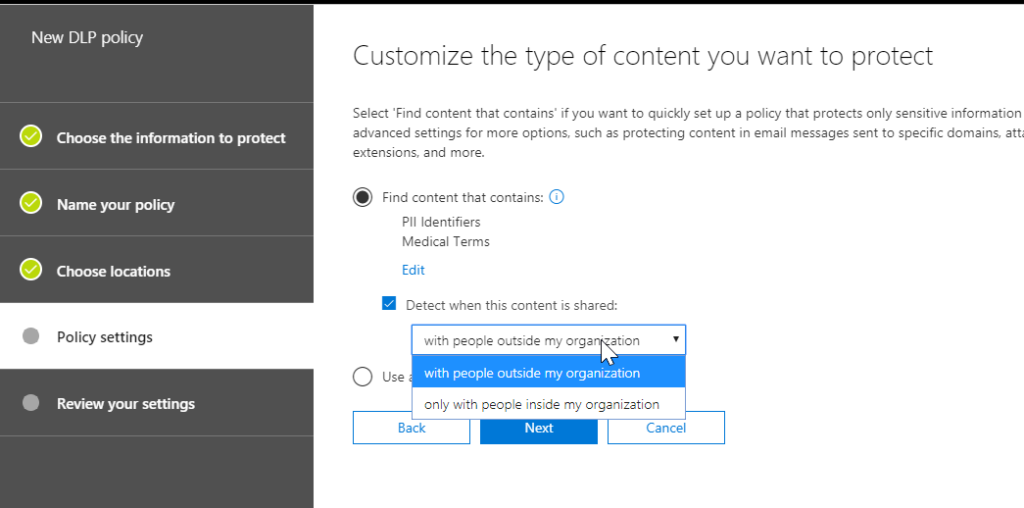
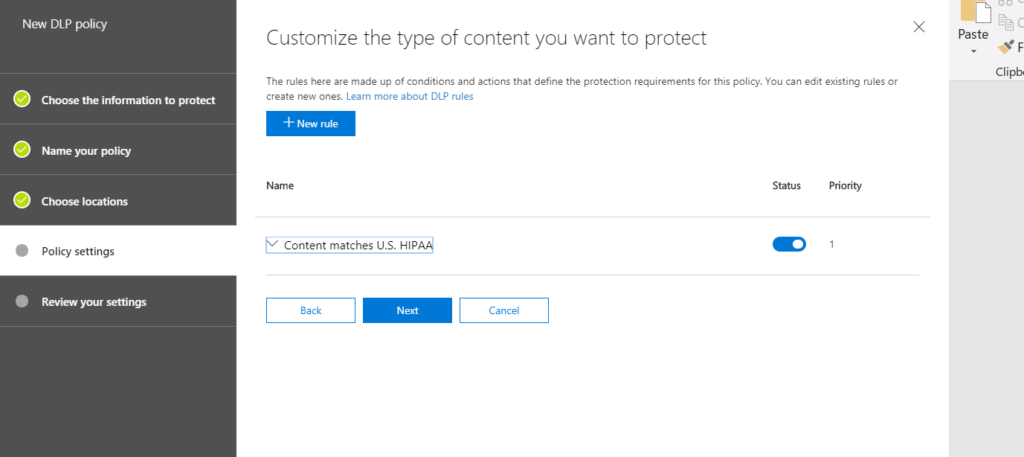
From here we can get even more granular with our settings. I can choose to add more content to my filter and chose whether to detect content that is shared inside or outside more organization
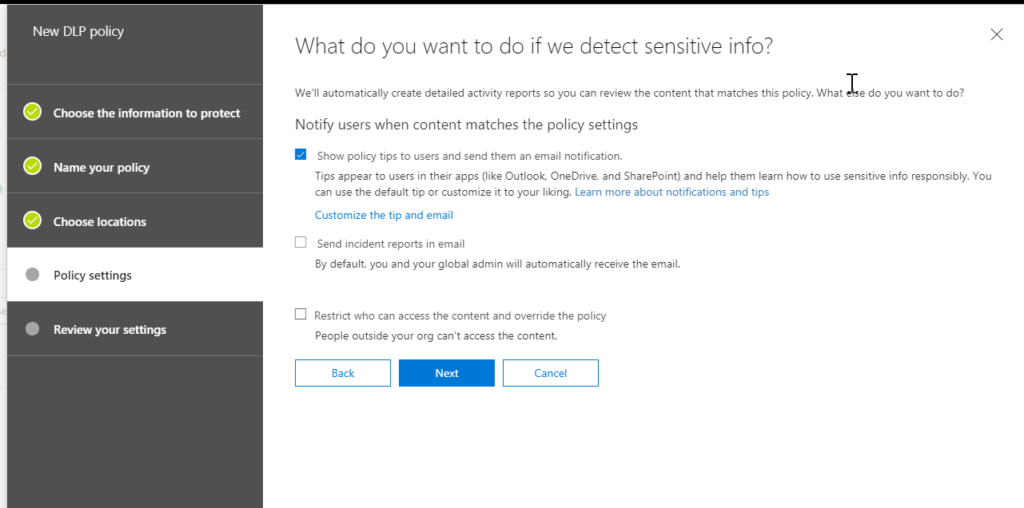
From here you can customize what to do if sensitive info is protected. You can use notifications and overrides to educate your users about DLP policies and help them remain compliant without blocking their work
Lastly, you can choose to test the policy before going into full production:
Once you review your settings, you can click Create
Once you review your settings, you can click Create
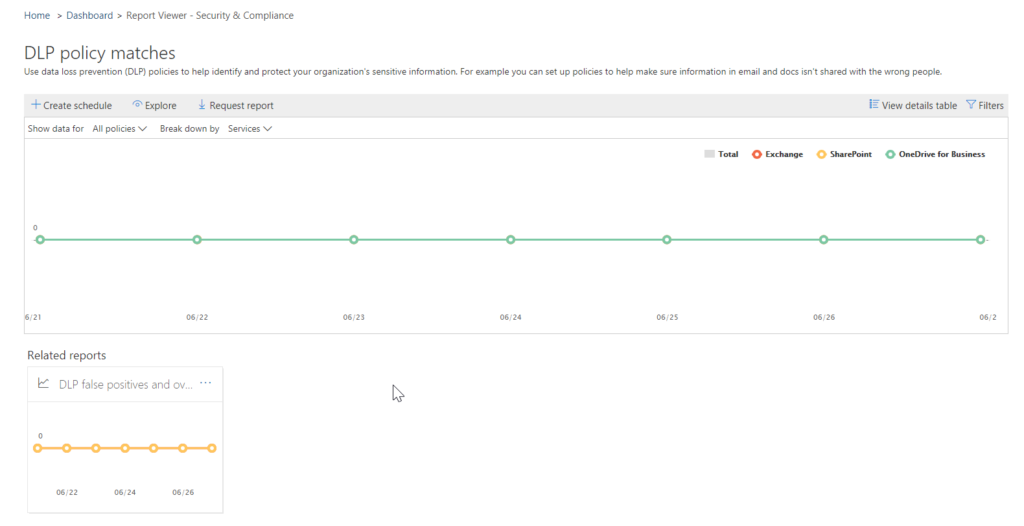
After you create and turn on your DLP policies, you’ll want to verify that they’re working as you intended and helping you stay compliant. With DLP reports, you can quickly view the number of DLP policy and rule matches over time, and the number of false positives and overrides
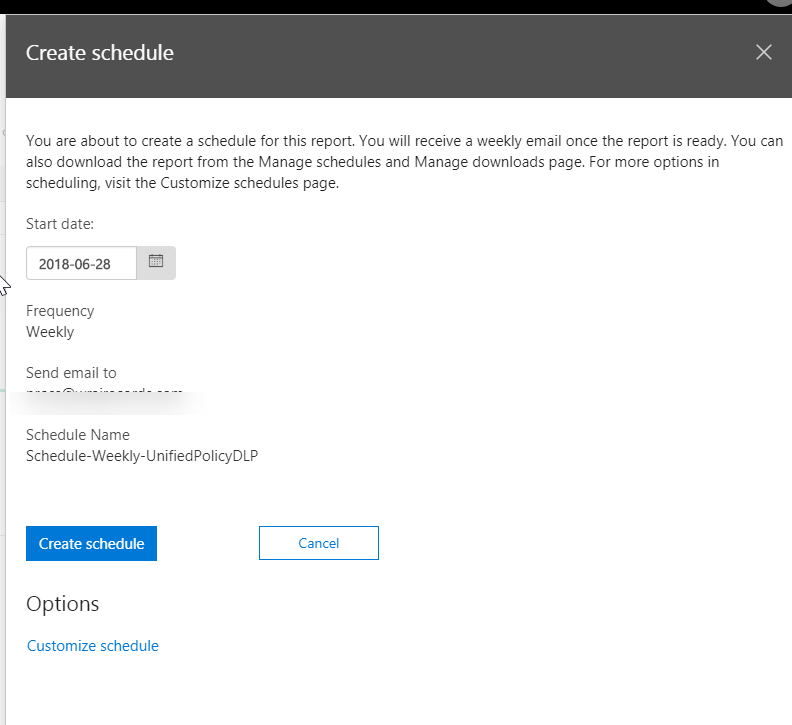
Set up reoccurring reports to go out to the Administrator of the account