


The purpose of this guide is to lay out the steps for configuring security alerts in a Microsoft Teams channel which is supported through the Microsoft Security Graph API. These alerts cover ALL SECURITY ALERTS that are reported in 365 and Azure. In this guide, I will be showing you how to configure the alerts gathered through the graph with a webhook in Teams. The steps outlined were derived from ideas conceived originally by a blogger known as The Lazy Administrator. You can check out his site here for some great articles.
The Microsoft Graph Security API connects multiple security solutions to enable easier correlation of alerts, provide access to rich contextual information, simplify automation and investigations. Here are some of the benefits to MSPs for when using Microsoft Graph:
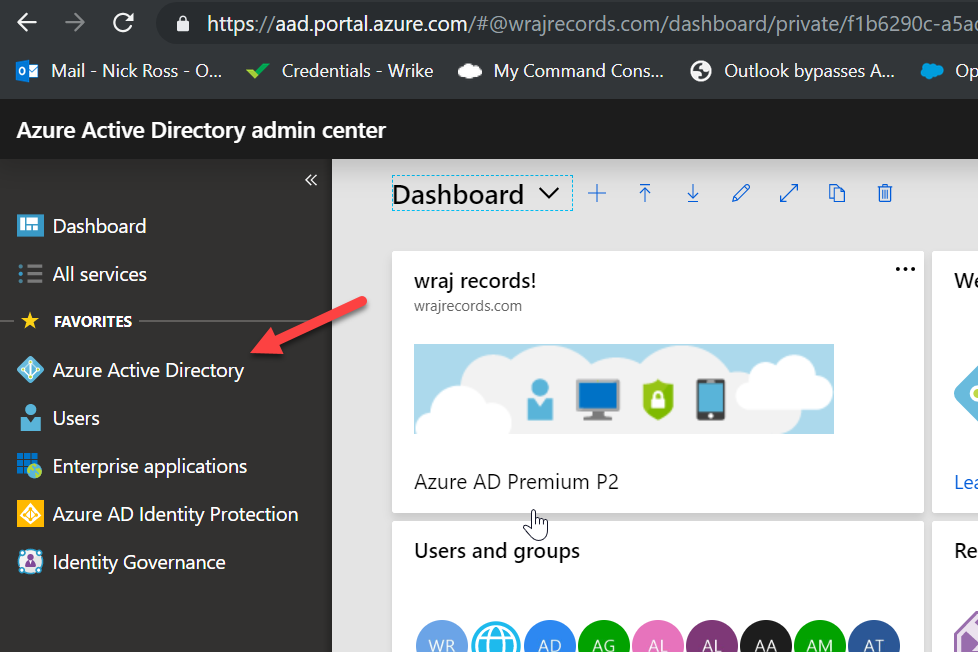
Go to https://aad.portal.azure.com, sign-in with a global admin to the tenant, and click on the Azure Active Directory tab
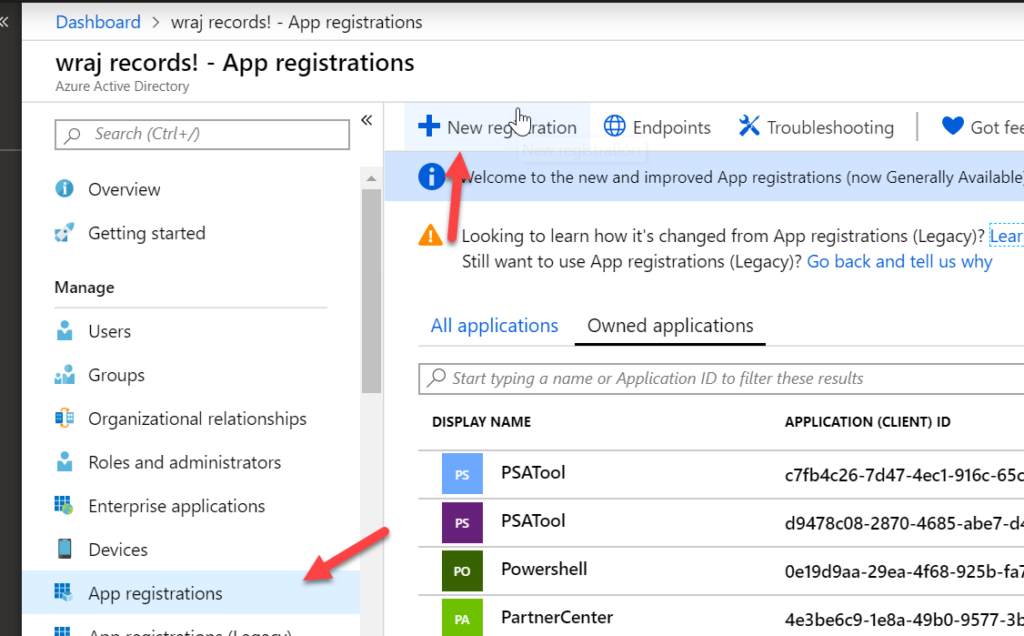
Click on App Registrations and click +New Registration
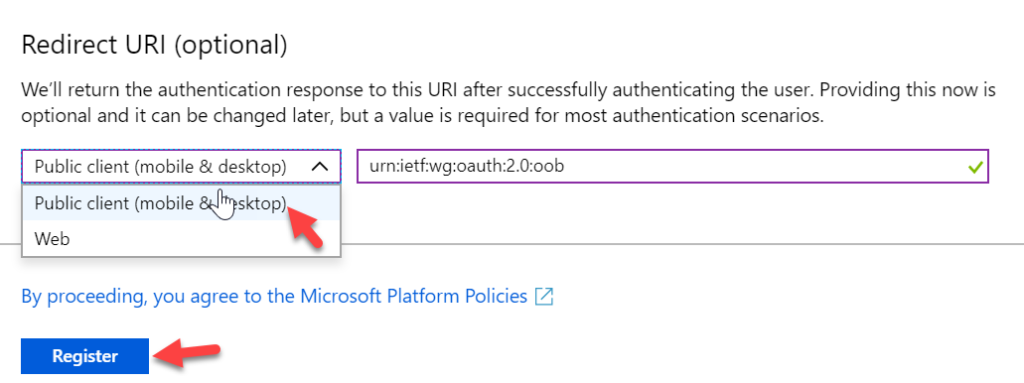
Name you App and then scroll down to the Redirect URI section. Select Public Client from the dropdown and paste the following in the txt field: urn:ietf:wg:oauth:2.0:oob
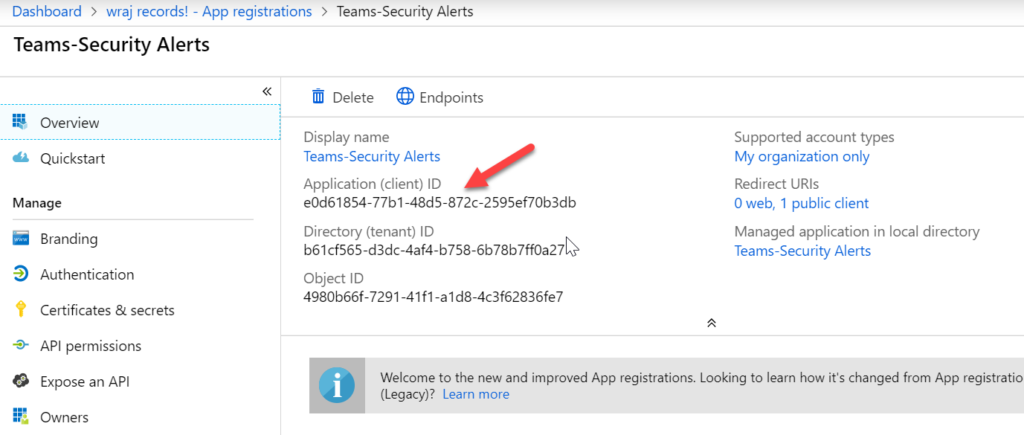
Take note of the Application (Client) ID. Paste in a notepad somewhere
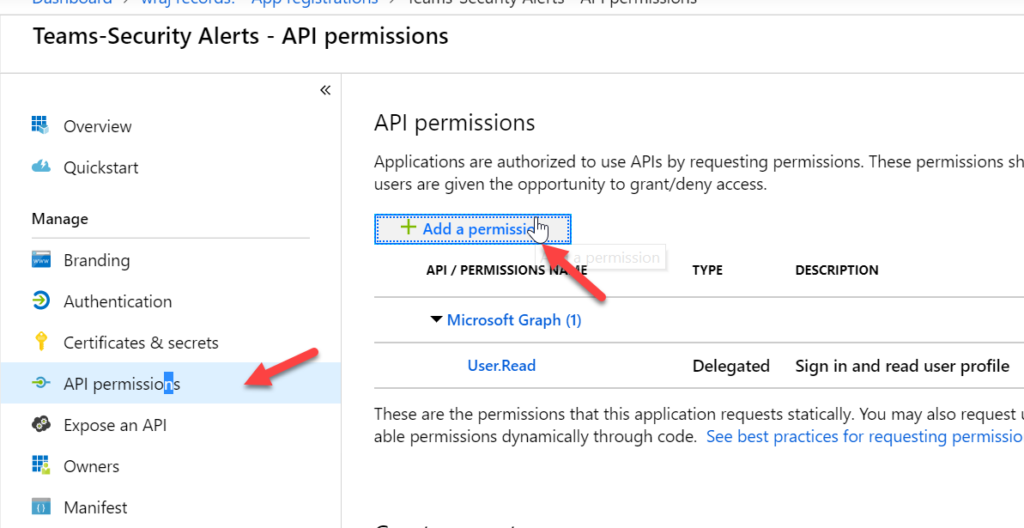
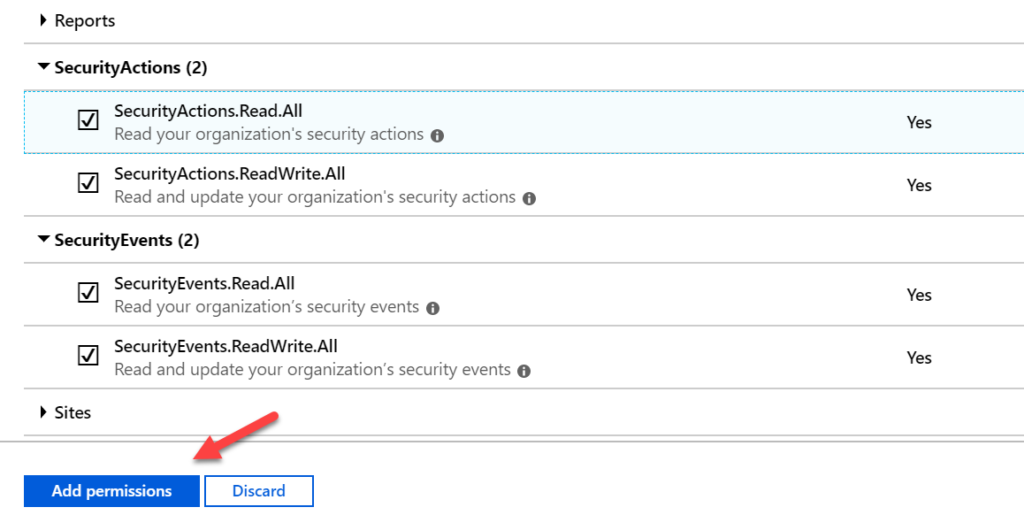
Click on API Permissions> Add Permissions
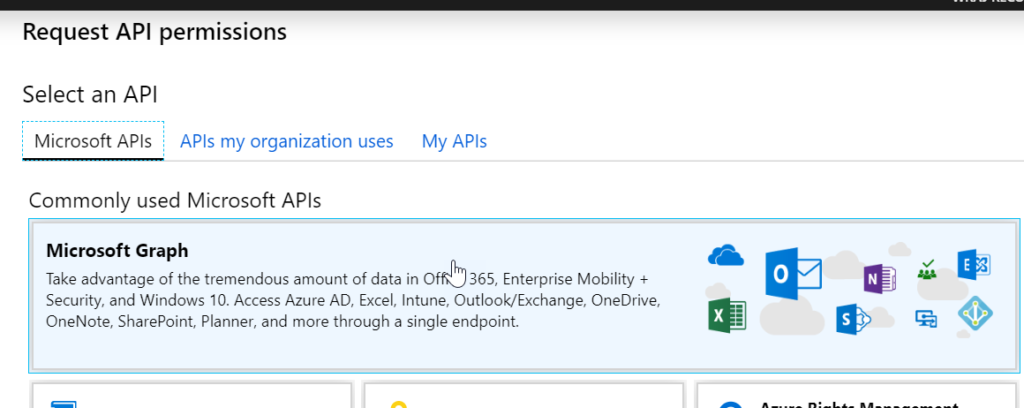
Choose Microsoft Graph, then Delegated Permissions
From here, we will scroll down to the Security Section and select all permissions
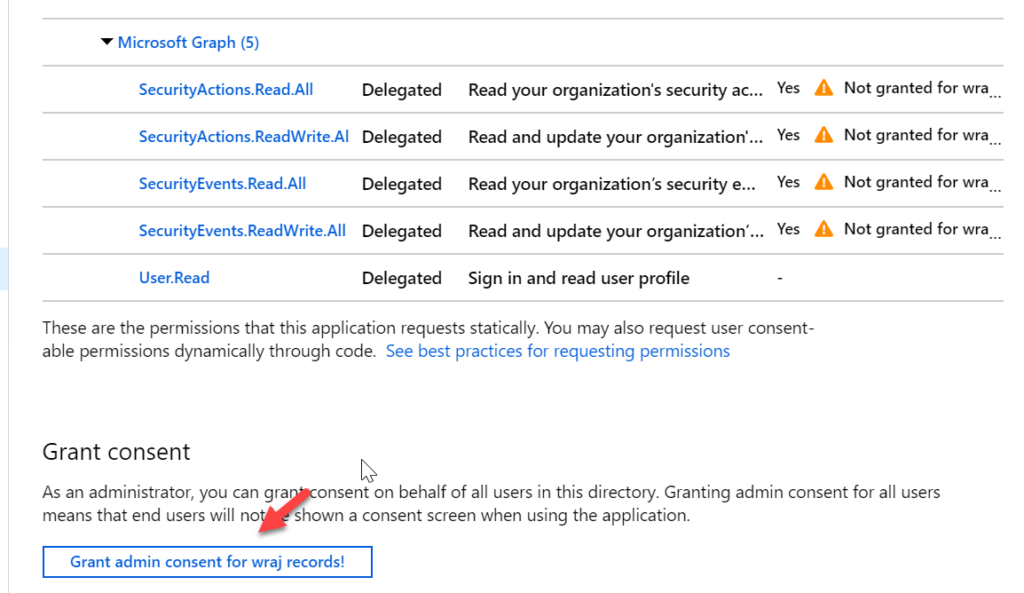
Click Grant Consent and view success message
Click Grant Consent and view success message
The powershell webhook to Teams give us the following benefits:
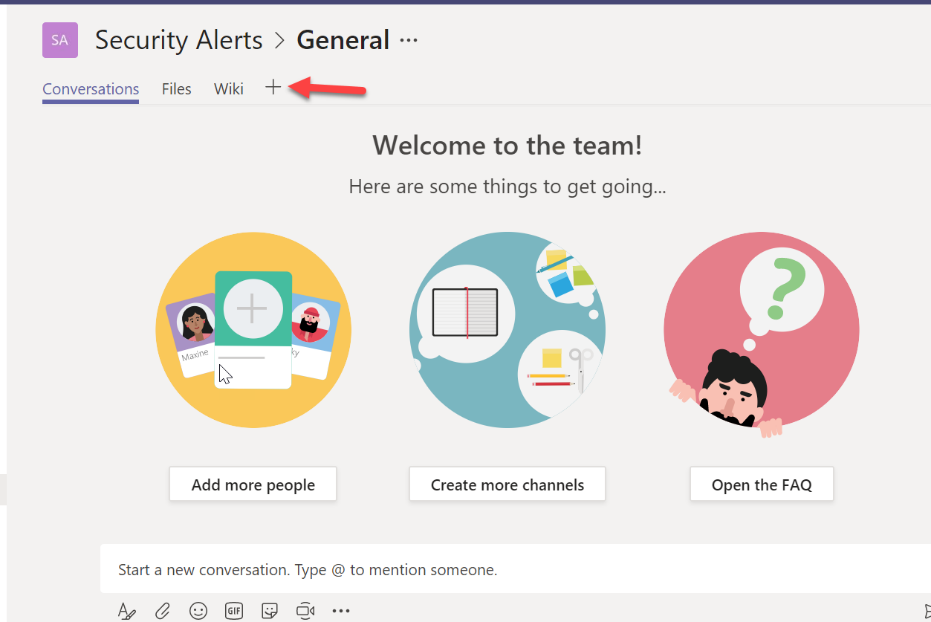
The first thing we need to do is configure the webhook in a Microsoft Teams Channel. Ideally, you would want this as either a helpdesk channel or security channel, specifically for monitoring security alerts. There are two ways you could manage these alerts:
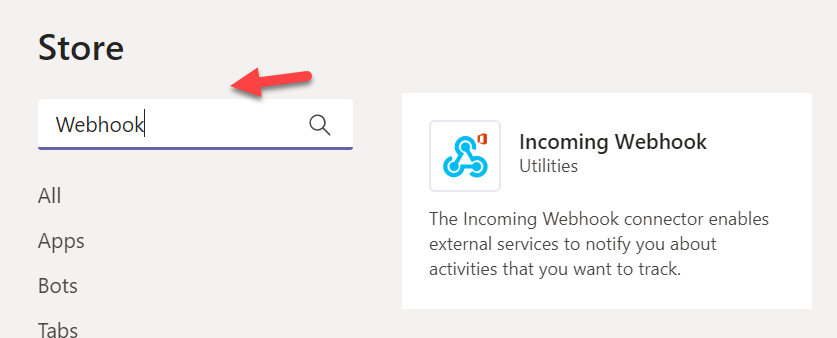
Once the team is created, click the + icon and then More Apps
From here, search for Webhook and then select Incoming Webhook
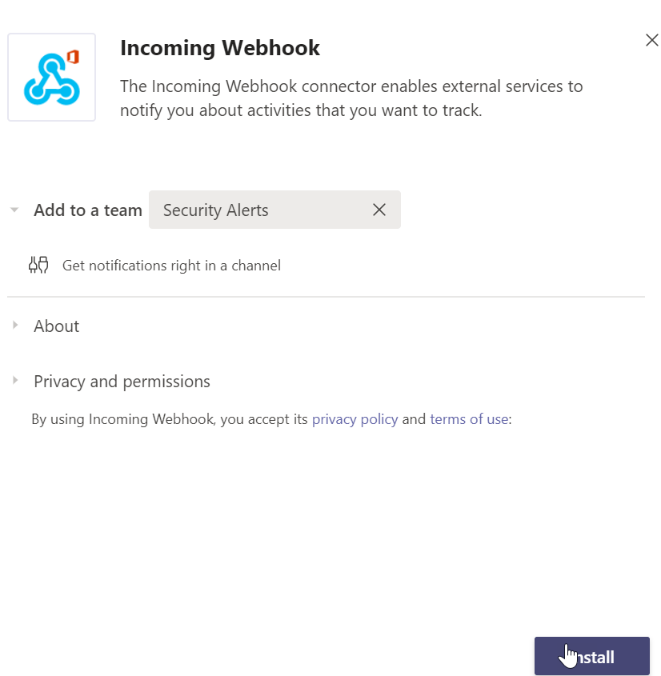
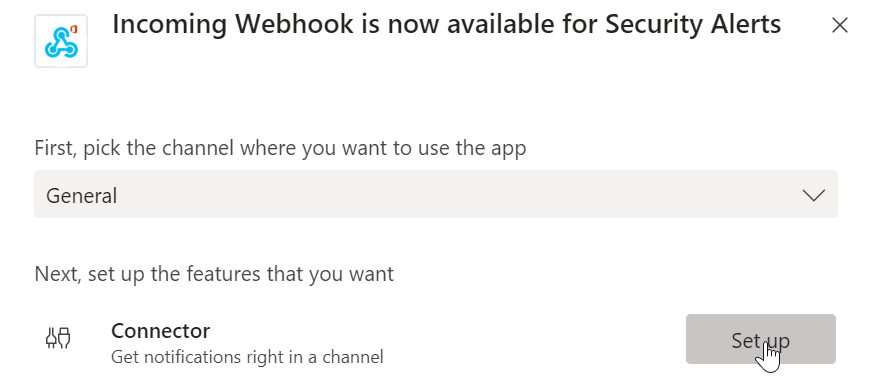
Click Install then Setup
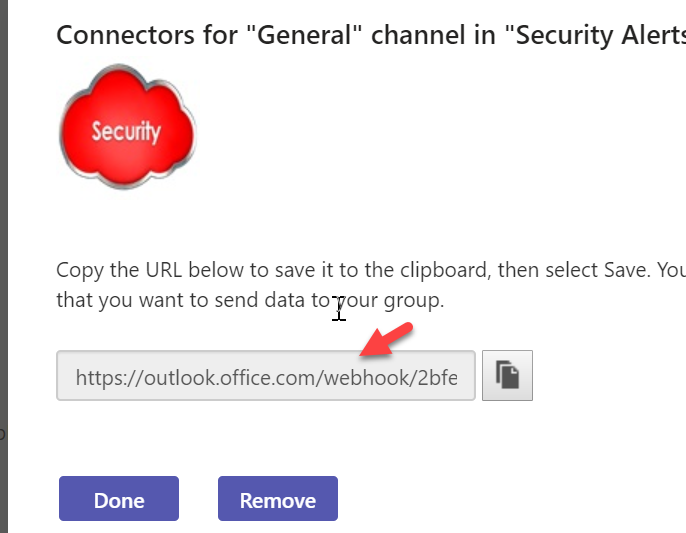
Add a name and custom image if you want then click Create. On the page that follows copy the URL given
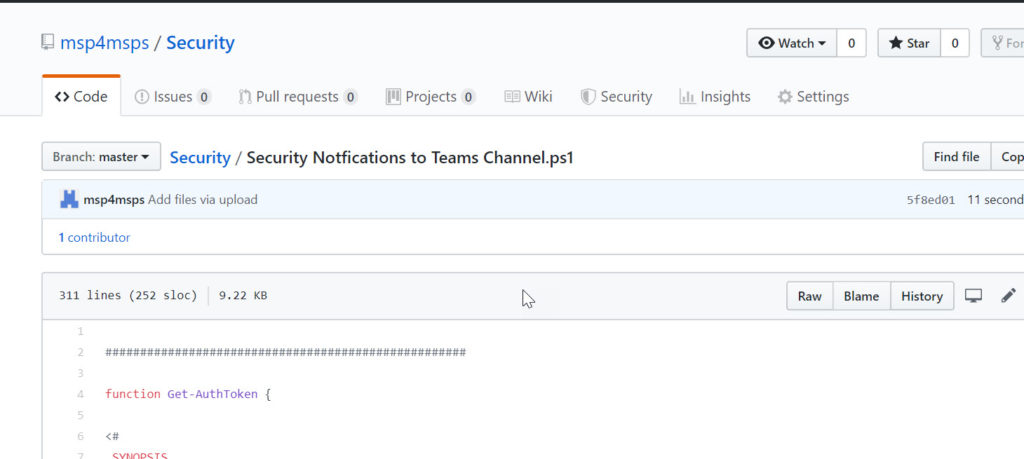
Now that we have the webhook created, we can run my script to ensure alerts are successfully going to push to our teams channel. Go to Github here to grab my script
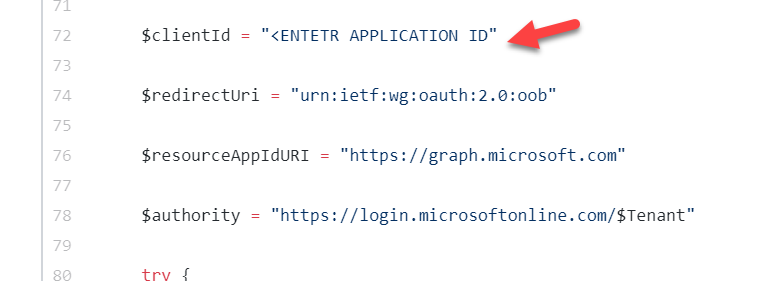
1.Line 73: Enter your app id for the App we created in the first section
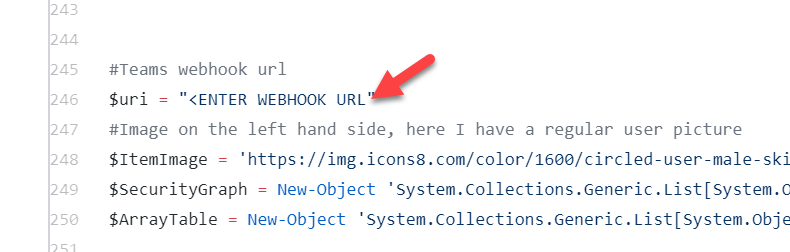
2.Line 247: Enter your webhook you copied in this section
Open Powershell as Admin and run the script. Install the two modules if you don’t already have them:
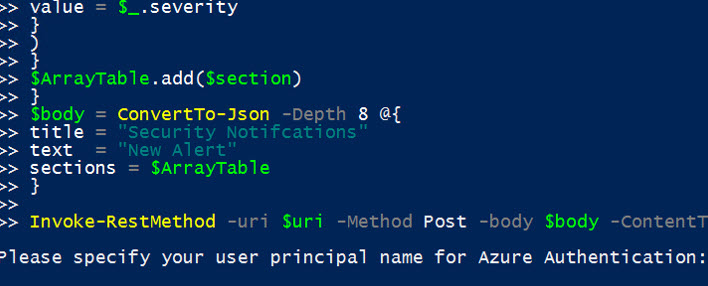
Run the script you modified from Github. You will be prompted to enter your UPN. Enter a global admin upn
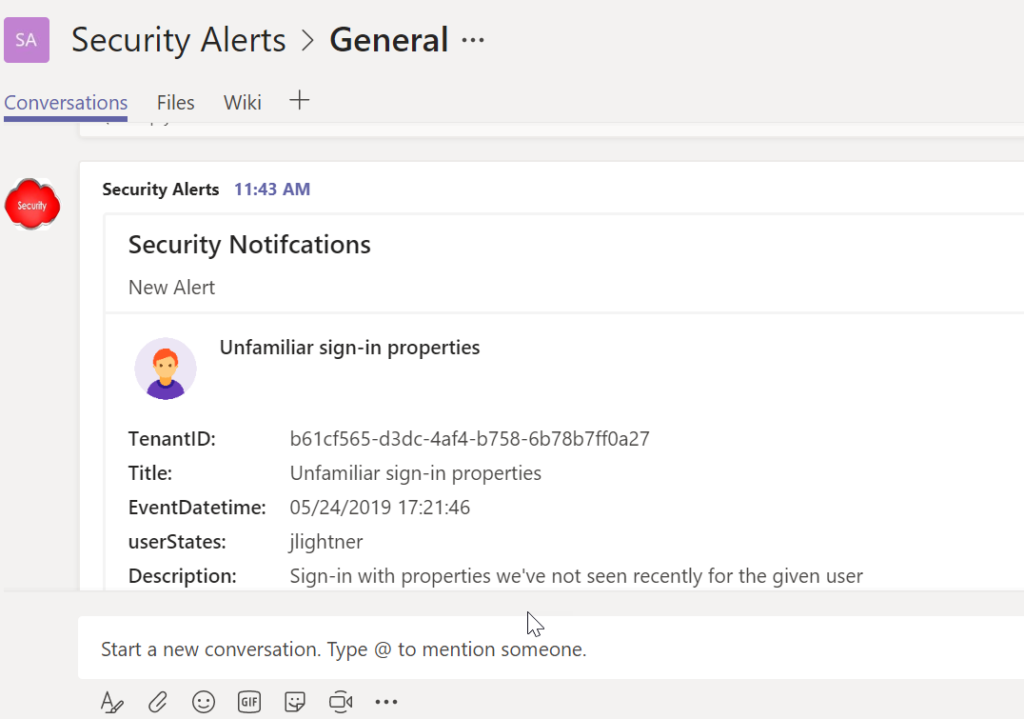
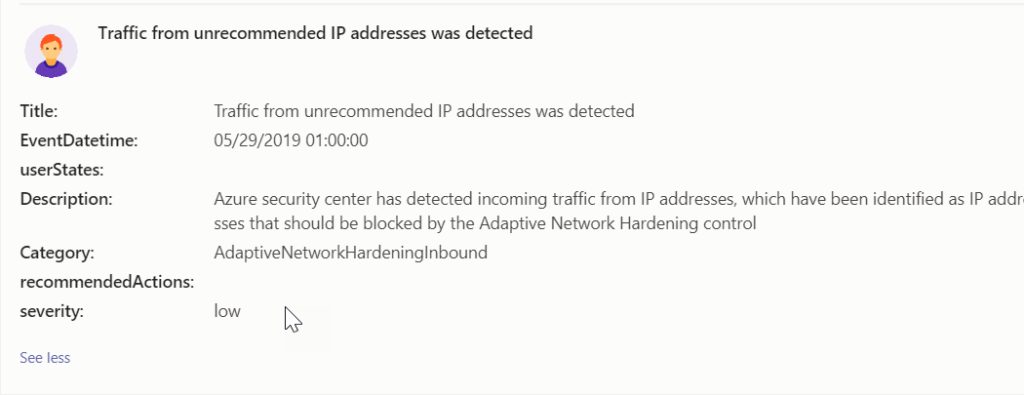
The Script will give you a new commandline when complete. From here, you can pop back over to your Teams channel and you should see the alert messages in your feed
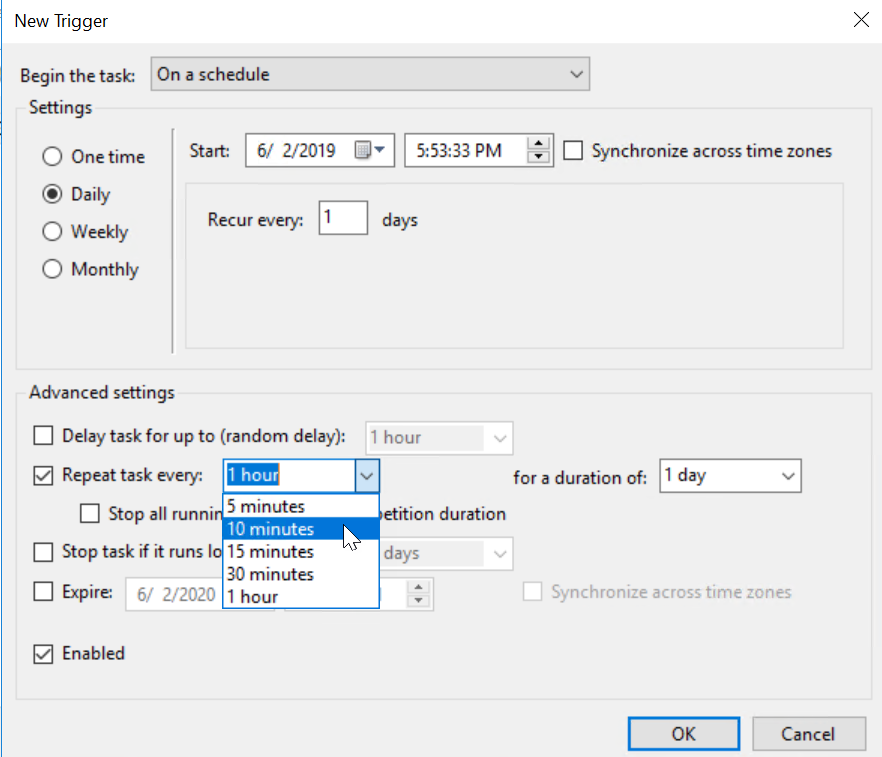
Now all we have to do is use Task scheduler to run the command at certain intervals. You can set this to once a day, every 30 min, or whatever you feel is best. You will want to save a new file name for each customer so we capture the different AppIDs across tenants