

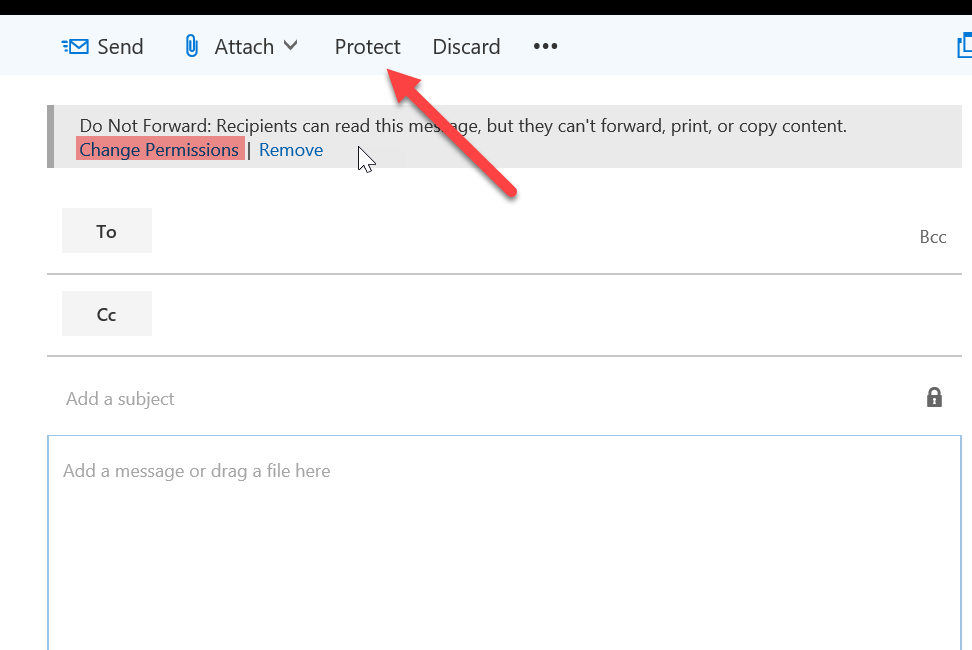
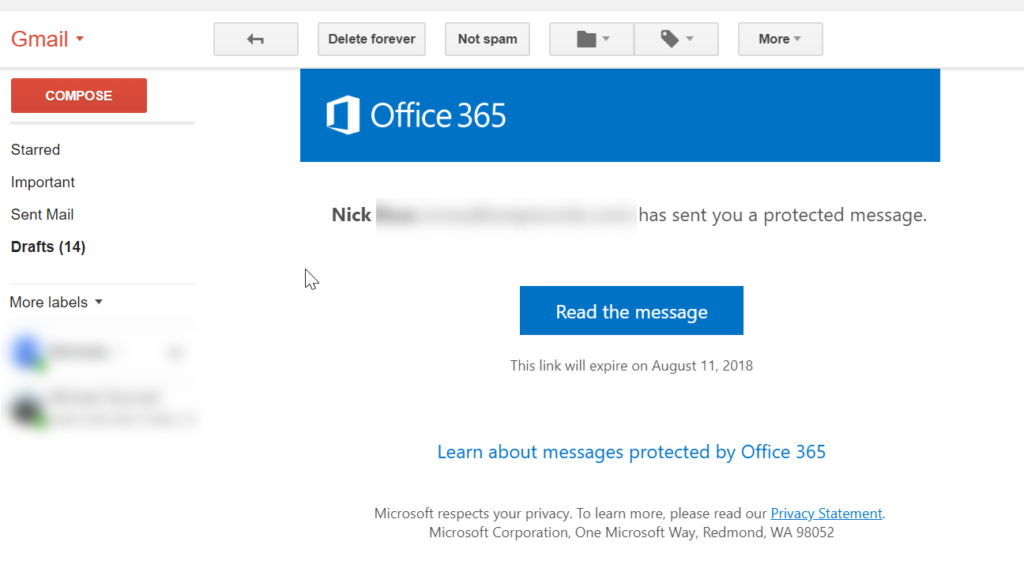

Recipients can also send encrypted replies without an Office 365 Subscription
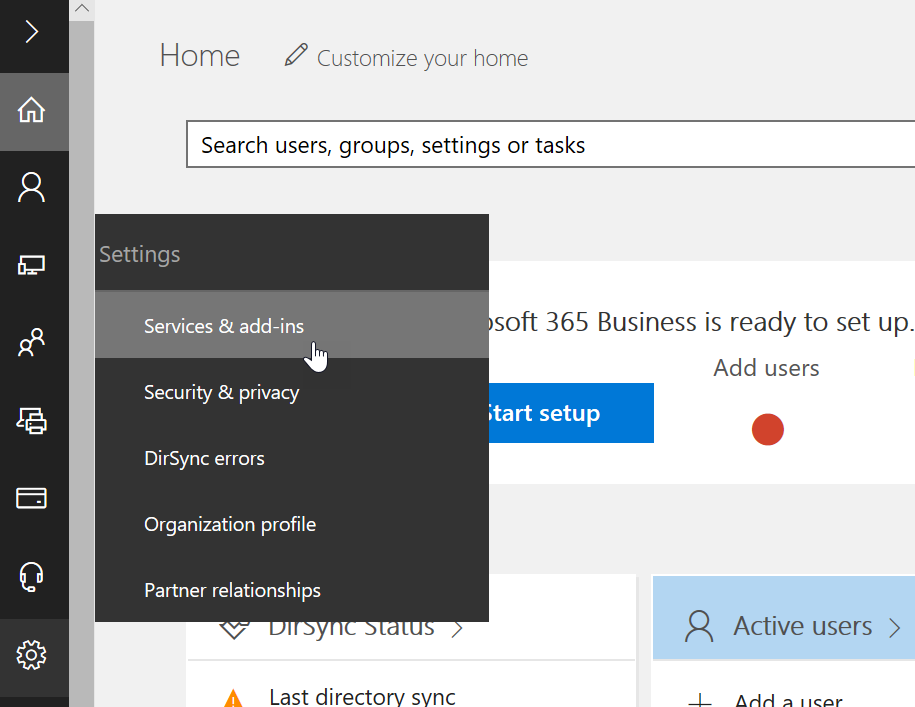
Go to Settings>Services & Add-Ons
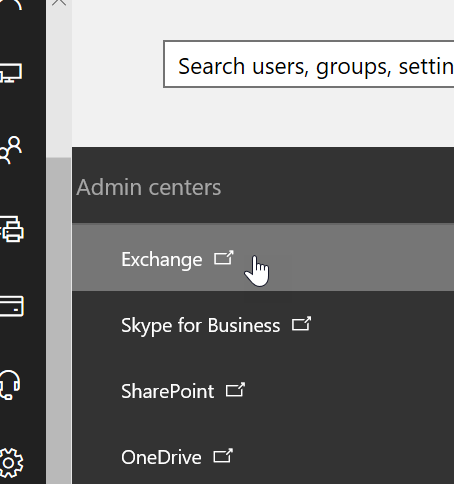
Go to Admin Centers>Exchange
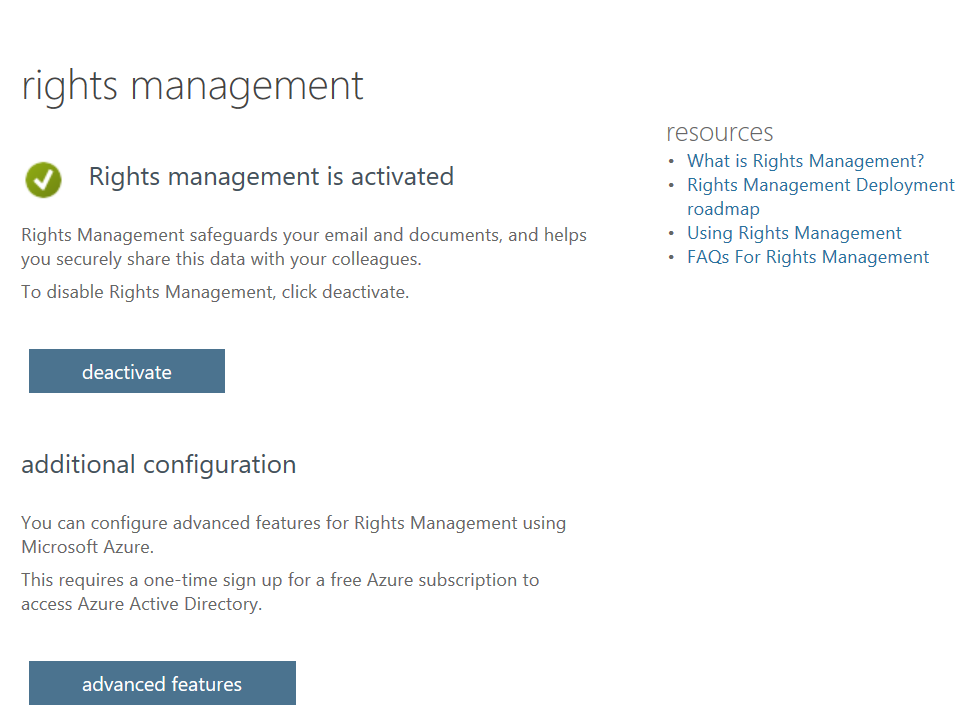
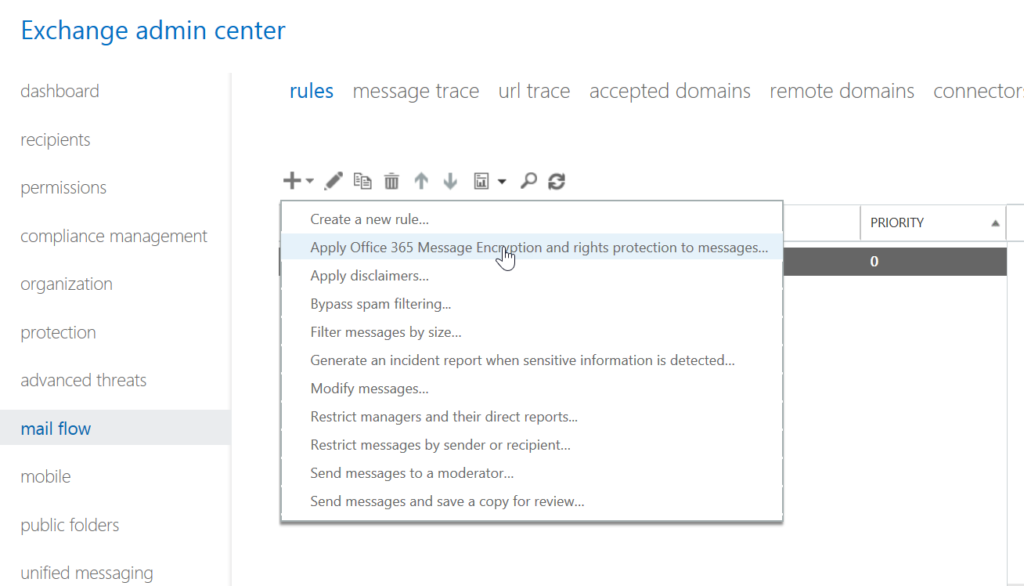
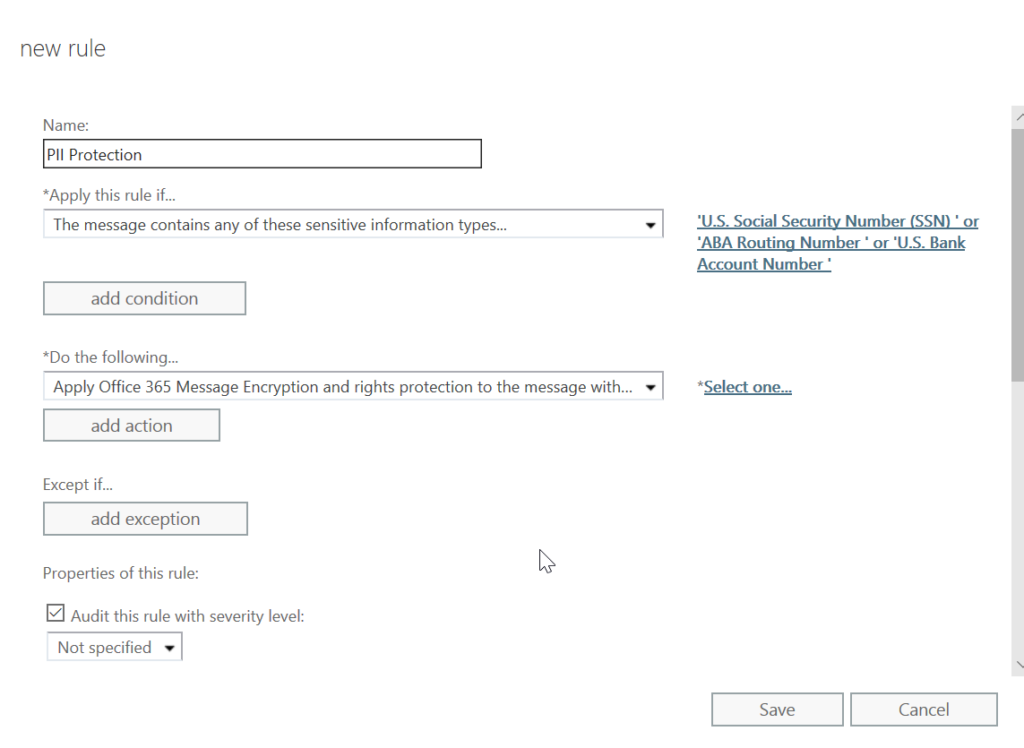
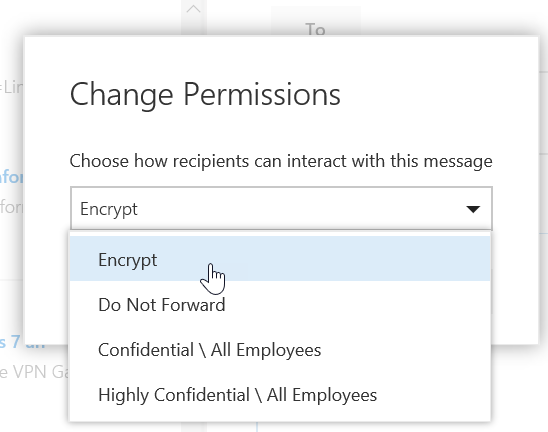
From there you can choose to encrpt the message
From there you can choose to encrpt the message