

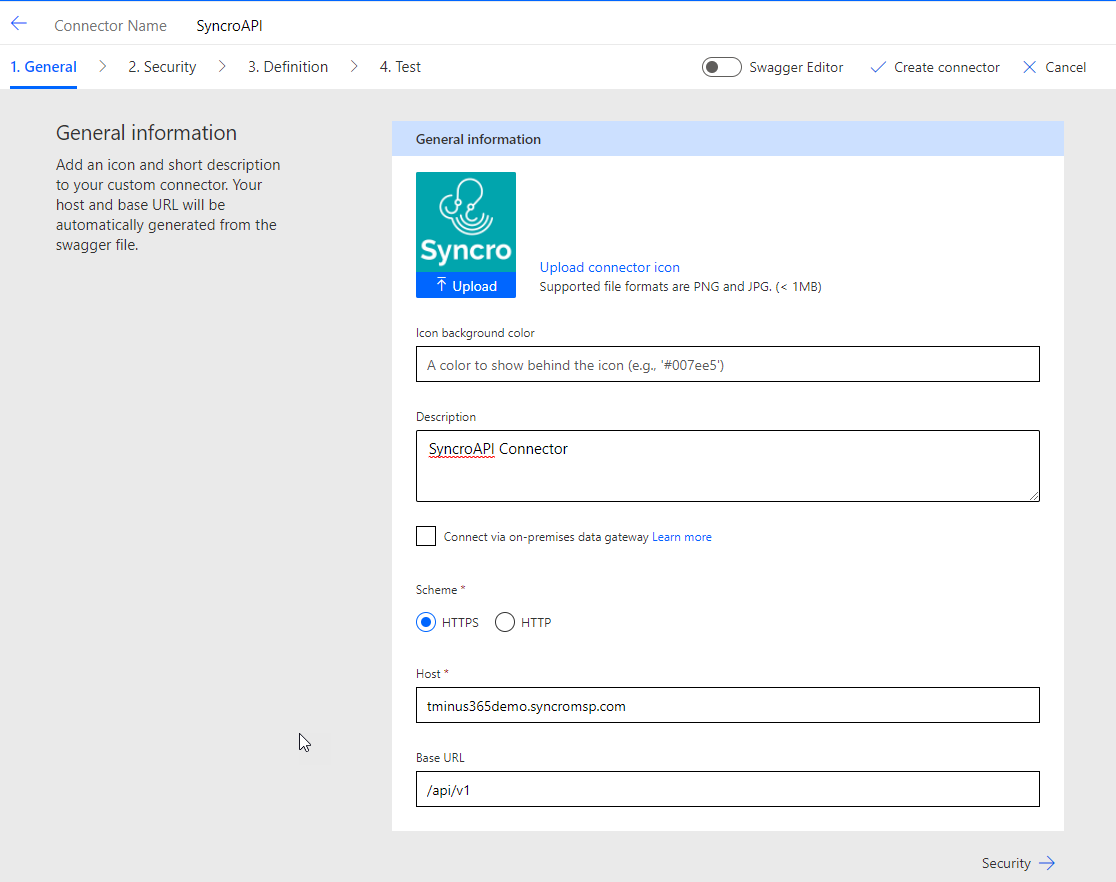

As an MSP, you should be constantly trying to automate workflows. Power Automate allows you to create workflows across applications with basic triggers and actions. Custom connectors can be established and used as part of your flows. In this article, I will show you how to set up a custom connector for Syncro using their Rest APIs. As an example, I will show you how to create a ticket as an action after setting up the custom connector. These workflows allow you to trigger events in your customer tenants to then create action in your Syncro environment. Triggers can also be set up from Syncro, such as a new contact being created, that generate actions in Microsoft (new user created in Azure AD).
It should be noted that this is a more advanced deployment because we are interacting with APIs to create this connection and establish triggers/actions. If you do not have experience in this regard, this may not be worth your time. Here are the other prerequisites I would mention:
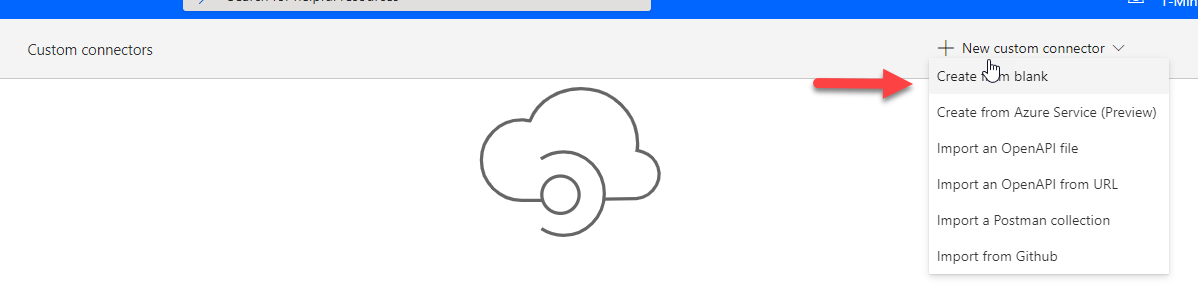
Login to power automate and select Data>Custom Connectors
Select +New Custom Connector>Create from Blank
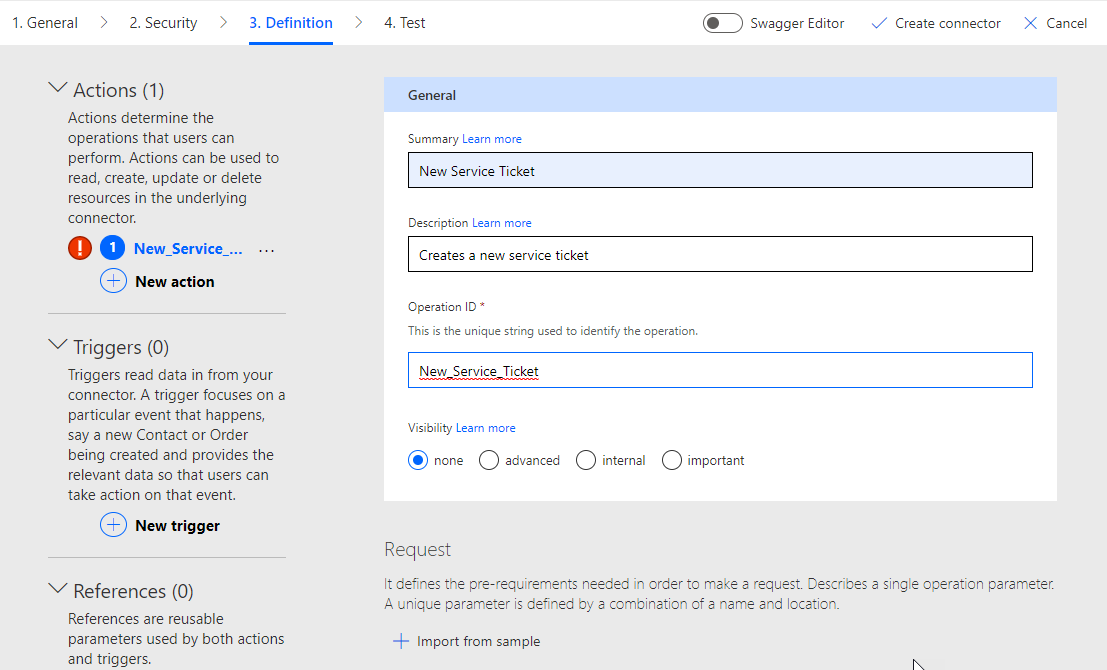
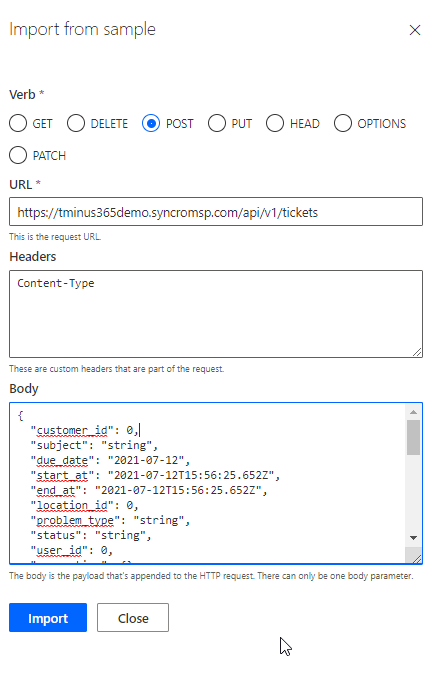
Definitions allow you to define actions or triggers in Syncro. In this example, I will show you how to create a ticket as an action. Note that you can make as many actions or triggers as you would like. Start by selecting +New Action and adding the following:
Now that we entered our request template we can modify the headers and body to add specific information. This is useful when you want static fields that never change. These can be prepopulated with the exact info you want and you can customize them so that they cannot be changed when setting up the action. In this example we will modify the content-type and customer_ID.
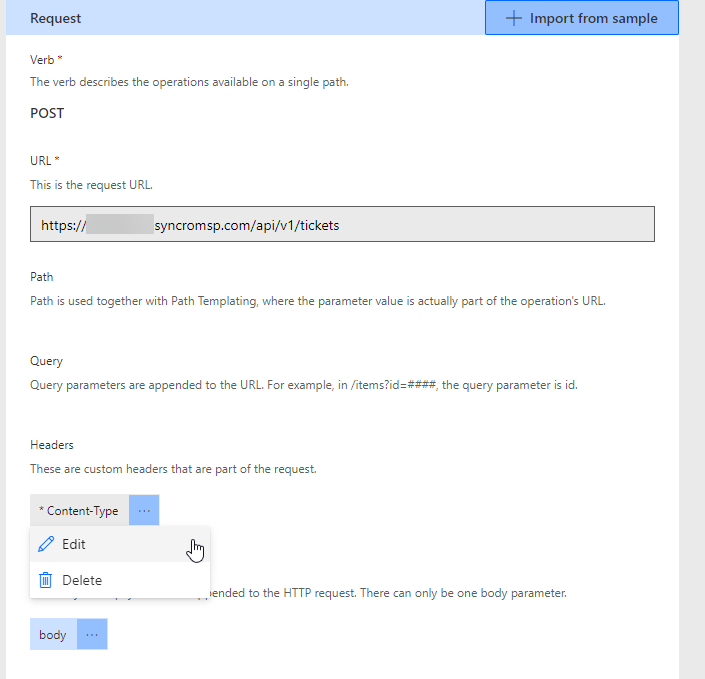
Click the 3 dots next to Content-Type and click Edit
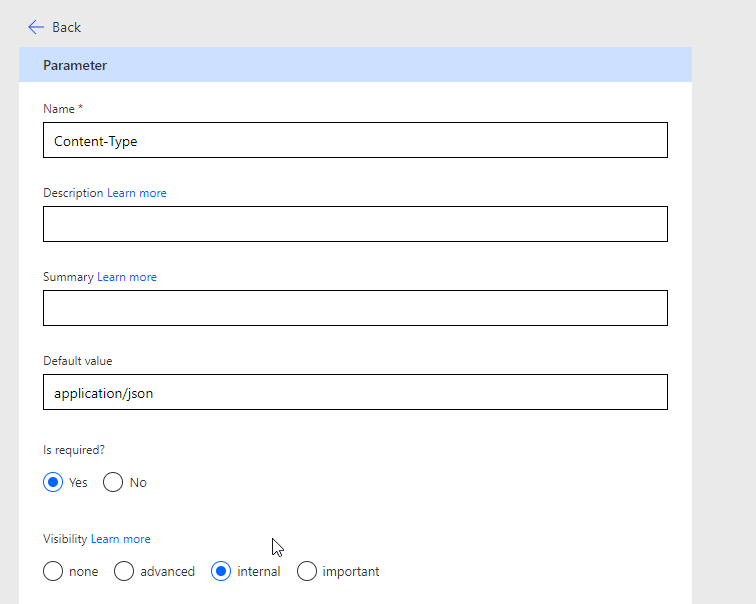
When you modify these fields you can define the default values, make them required, and set them to internal so that no one can change them later. Fill out Content-Type as you see below:
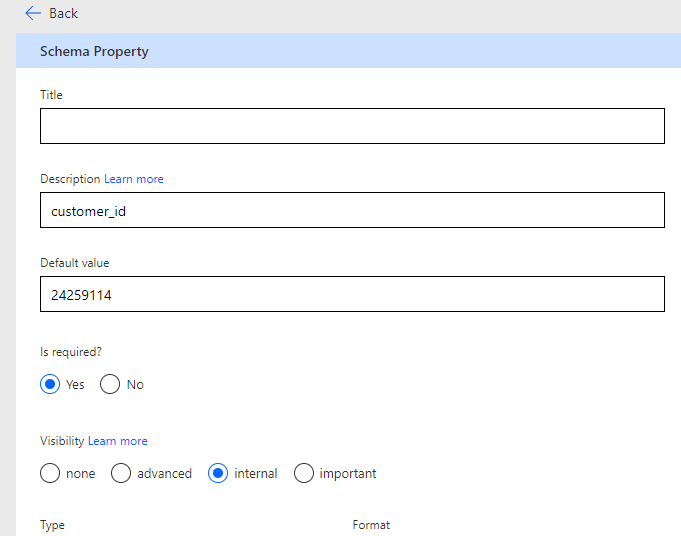
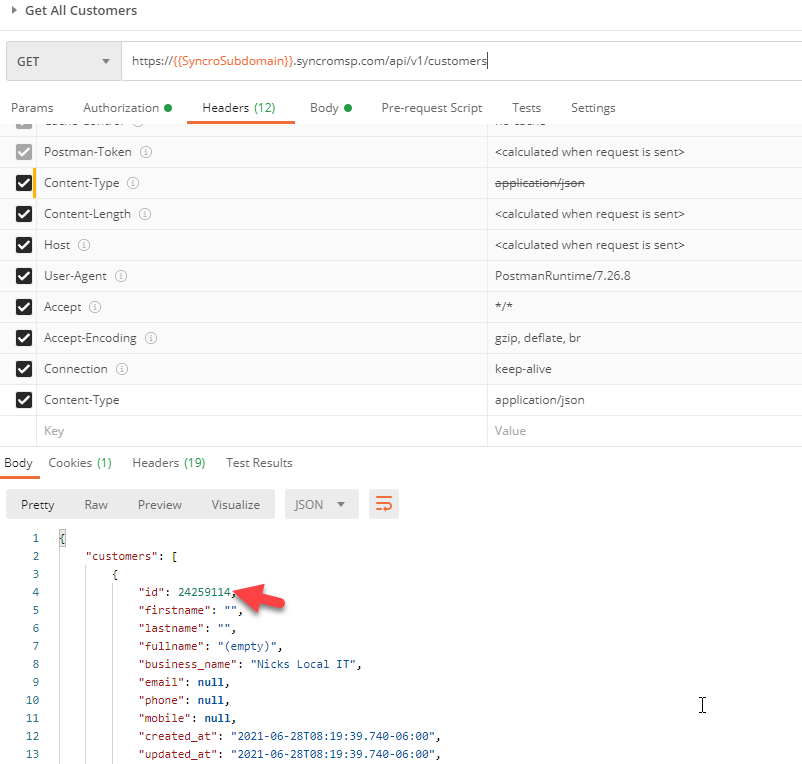
When you are done click on the back arrow and then click edit on the body. In the body section you will see all of the fields you added to your JSON. Click on edit for the customer ID. here is where will will also use postman to get the correct customer ID as a prepopulated value in the ticket. This customer should match the customer tenant you are in creating this custom connector.
Use the customers call to see the unique IDs of your customers in Postman
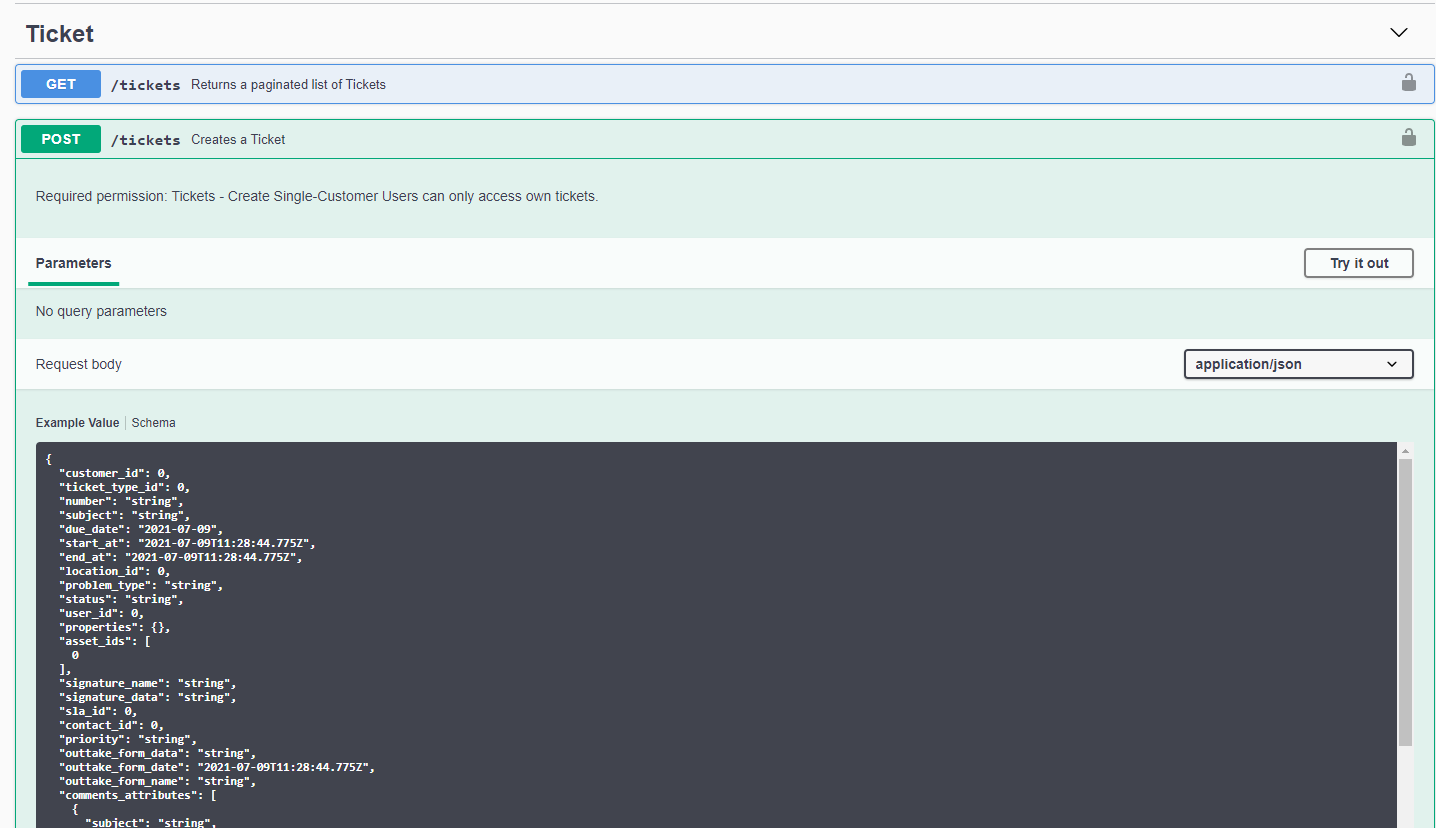
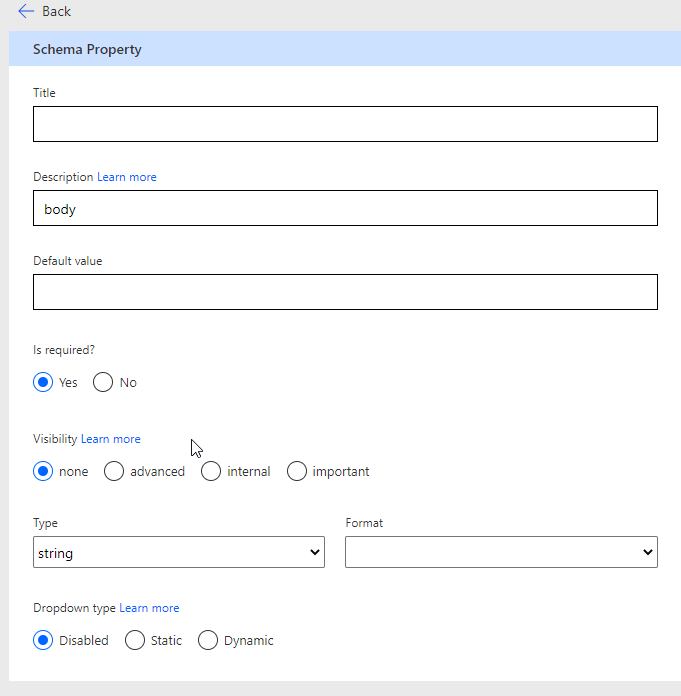
Before you move on to testing, you may want to modify Body and subject as additional fields that are required for the input of the action. For tickets, you will also note that you will have two subjects, one for the main part of the ticket and another for the first comment that is being made. For this reason, you may want to distinguish one with a Default value or title.
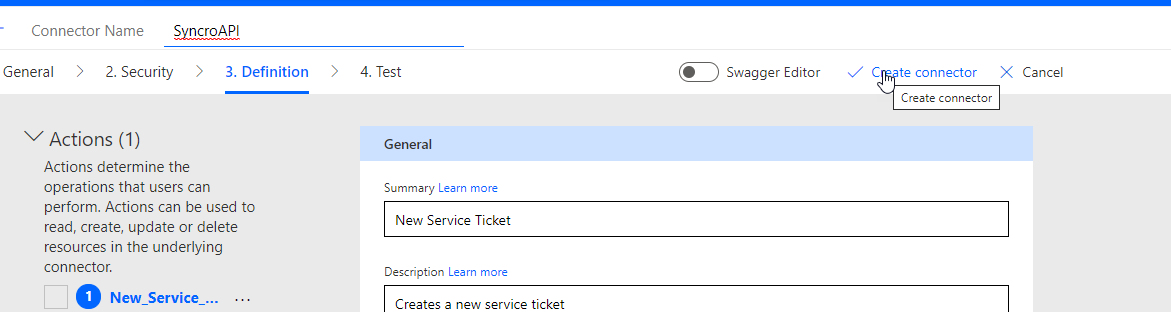
Once you have all fields saved, click Create Connector
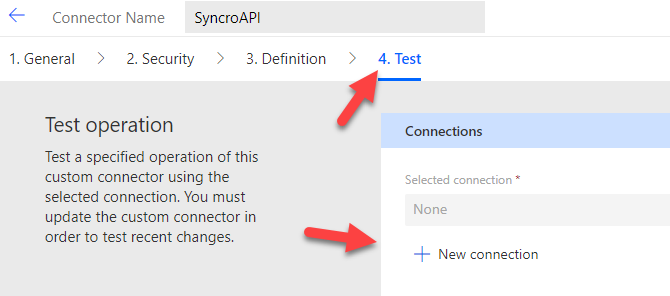
You will receive a success message and now you will want to click on Test > +New Connetion
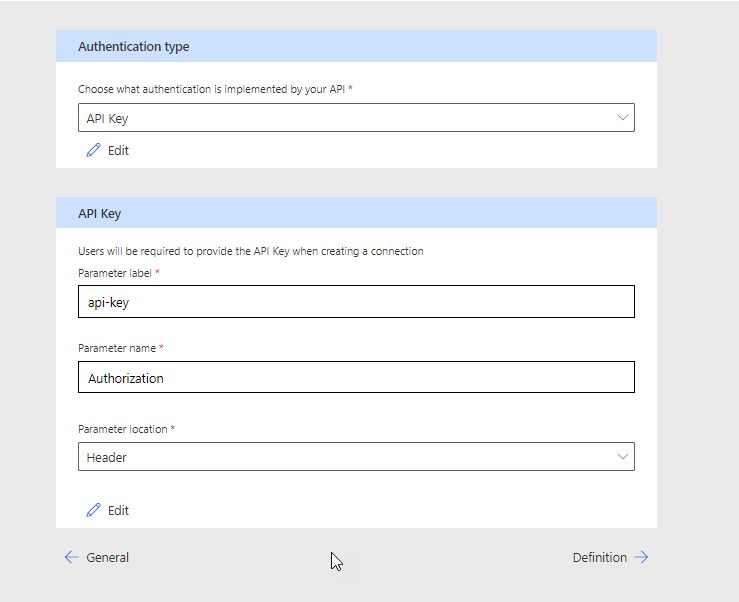
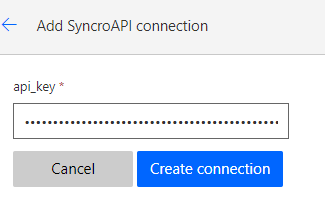
Here you will be asked to enter the api key that you created/grabbed in the prerequisites. When you enter the correct format click Create Connection
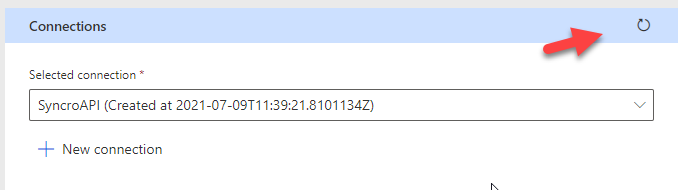
On the following page, click the refresh button to see the connection you just set up.
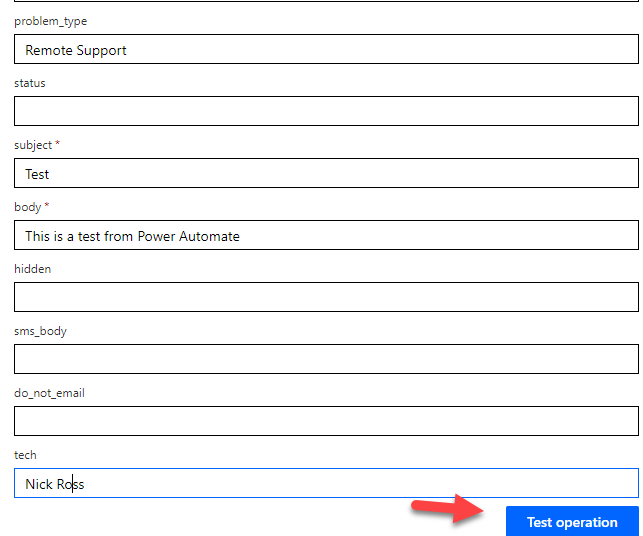
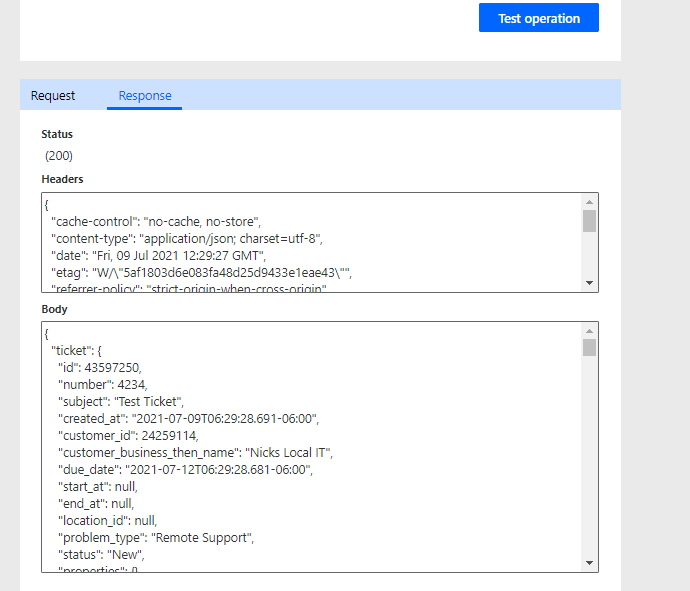
Below you will see all of the fields you entered of the JSON body. Here you can enter values as an example to test the operation. Fill out the fields and click Test operation
If successful, you will see a 200 status and the body of the ticket you just created. If you get an error it is likely that you either:
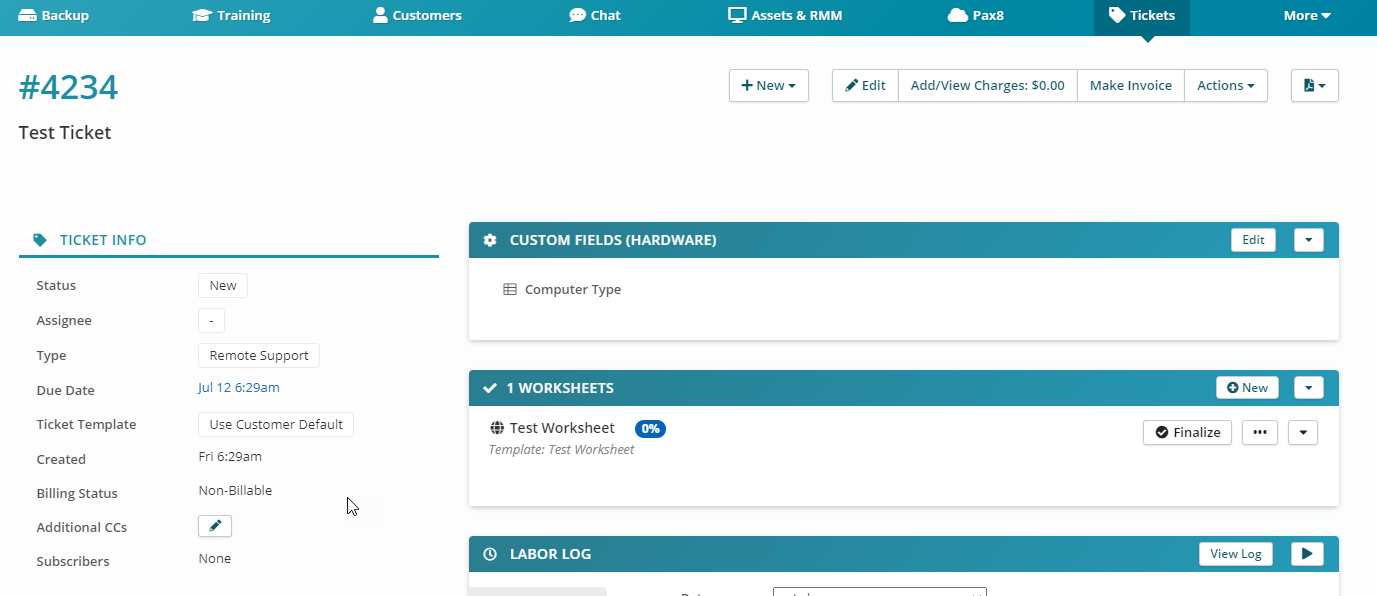
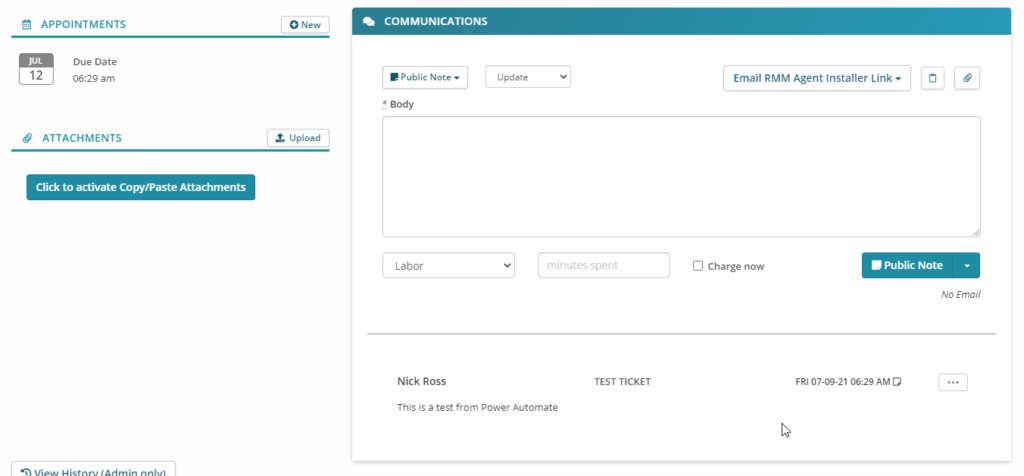
Back in Syncro, you can see the ticket that was just generated off of the test event
Here you can see all of the fields I entered in power automate that were generated.
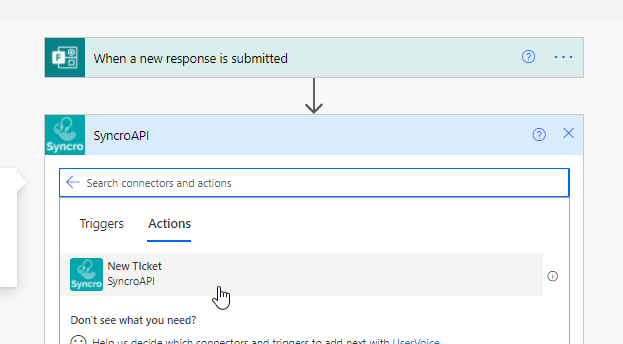
Now when you go to create a flow, you can select Custom to see your custom connector. Clicking into the connector will allow you to see all of the actions and triggers you have created
I hope that this article provided some targeted guidance for creating Syncro as a custom connector in Power Automate. If you are interested in any consulting services to help set this connector up, feel free to contact me here.