


Many customers are making the move to the cloud, pushing up all traditional fileshares/homedrives to SharePoint and OneDrive. The purpose of this post is to lay out the steps for migrating individual users Home Drives to their personal Pnedrive in 365. We will be leveraging the free SharePoint Migration Tool from Microsoft.
.
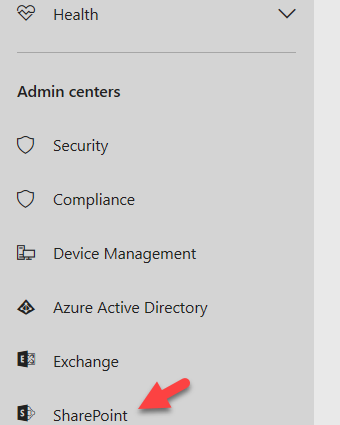
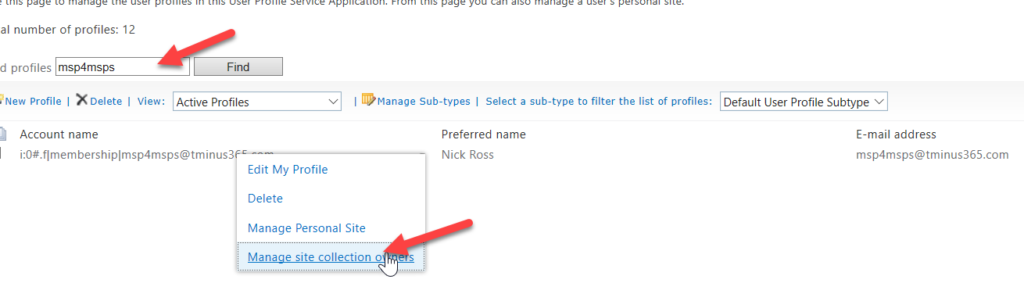
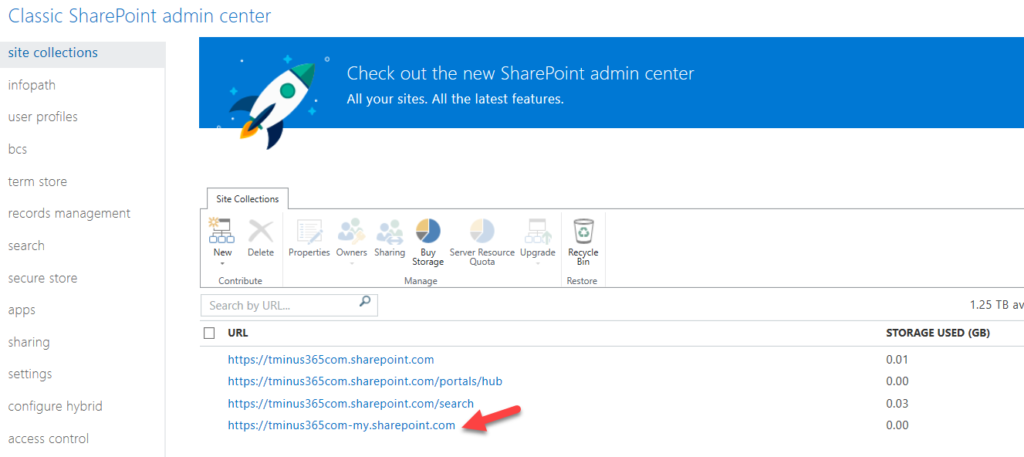
You can check to make sure a personal OneDrive is created for a user by signing into their tenant with global admin credentials and going to the SharePoint Admin Center
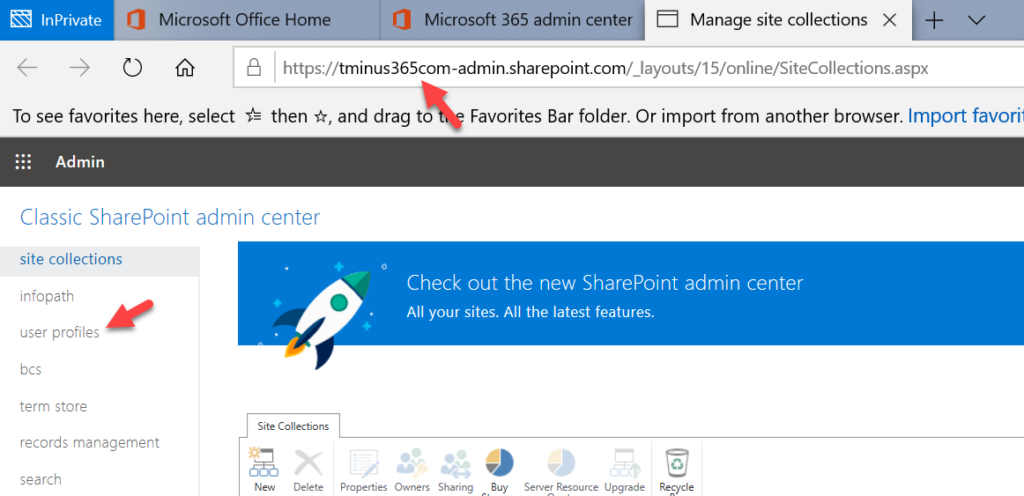
Take note of the admin url at the top of the page and click on the User Profiles button on the left **NOTE** If you do not see this page like this then click on Return to classic sharepoint center in the bottom left
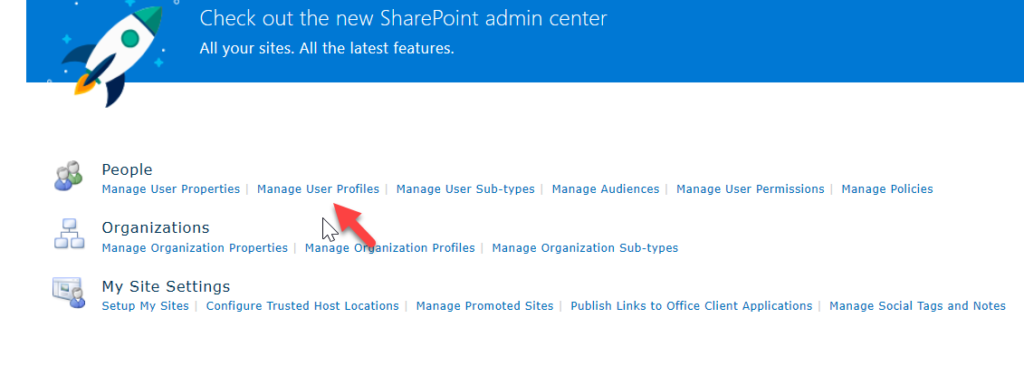
Select Manage User Profiles
Search for any users and click the dropdown menu>Manage Site Collection owners
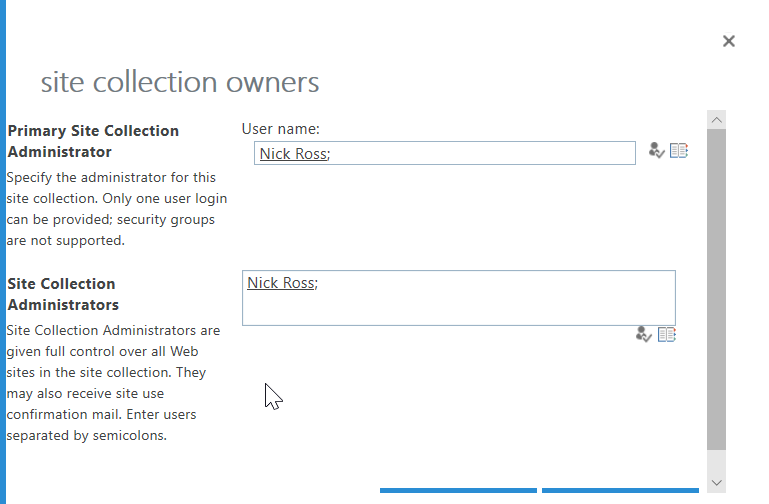
If the users has signed in then they will have had a personal site created and the following will pop up. *NOTE* Later in the setup, we will be adding a user for impersonation rights in the Site Collection Administrators section
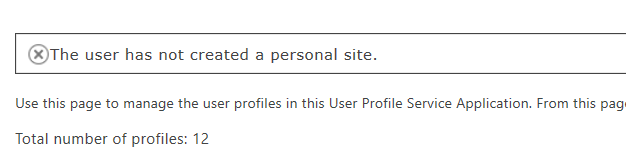
If they have not signed in then most likely you will see the following
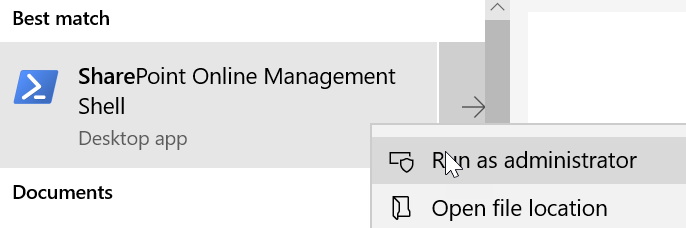
Next, we are going to run powershell commands to create the personal sites. If you’re pre-provisioning OneDrive for many users, create a list of these users and save it as a file. For example, create a text file named Users.txt that contains: user1@contoso.com user2@contoso.com user3@contoso.com. Download the SharePoint Online Shell Here
$adminUPN=”<the full email address of a SharePoint administrator account, example: jdoe@contosotoycompany.onmicrosoft.com>”
$userCredential = Get-Credential -UserName $adminUPN -Message “Type the password.”
Connect-SPOService -Url https://Orgname-admin.sharepoint.com -Credential $userCredential
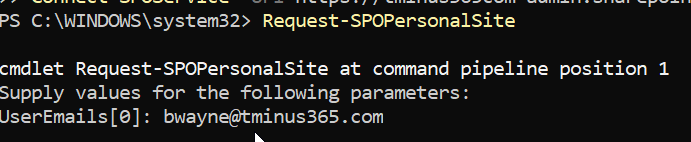
Run the PowerShell command Request-SPOPersonalSite. If you only have a few users you can run them one at a time. If you have many enter your txt file we created earlier
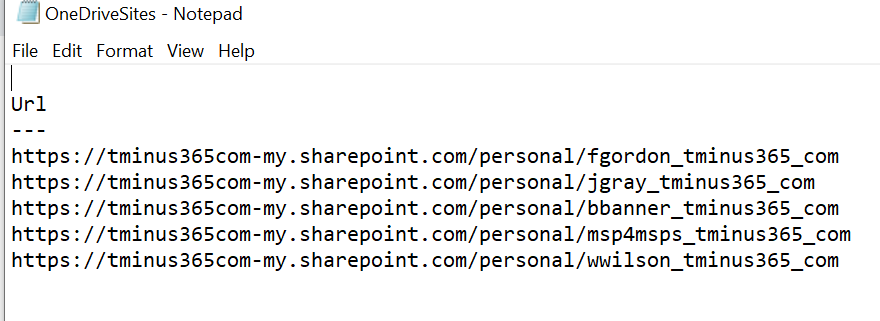
$TenantUrl = Read-Host “Enter the SharePoint Online Tenant Admin Url”
$LogFile = [Environment]::GetFolderPath(“Desktop”) + “\OneDriveSites.log”
Connect-SPOService -Url $TenantUrl
Get-SPOSite -IncludePersonalSite $true -Limit all -Filter “Url -like ‘-my.sharepoint.com/personal/” |select Url | Out-File $LogFile -Force
Write-Host “Done! File saved as $($LogFile).”
The SharePoint Migration tool will ask us to use an admin user to impersonate all URLs at the destination when we configure the migration job. We need to perform a script to get this done or do it manually if we do not have a lot of users.
You can go back to the same steps we performed in the previous section and add you admin user under the site adminstrators section in the SharePoint Admin Center. Again the path is User Profiles>Mange User Profiles>Manage Site Collection Owners. Perform for all users
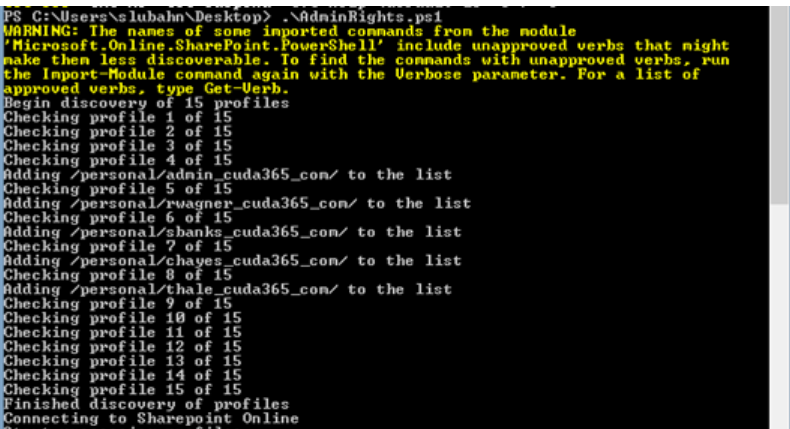
Download the AdminRights.ps1 script and Modify the following:
Where the first two are you global admin creds, $spAdminUrl is your url from steps in the first section and $spMyURL can be found on the SharePoint admin center site collection page:
Run SharePoint Online Powershell as admin and run the following command: Set-ExecutionPolicy Unrestricted. Say yes to the commands. When finished, copy and paste your ps1 script you modify and run the command. It will run through and add the necessary permissions to all users
*NOTE* This section is only necessary if you have many users and do not want to enter each user one at a time
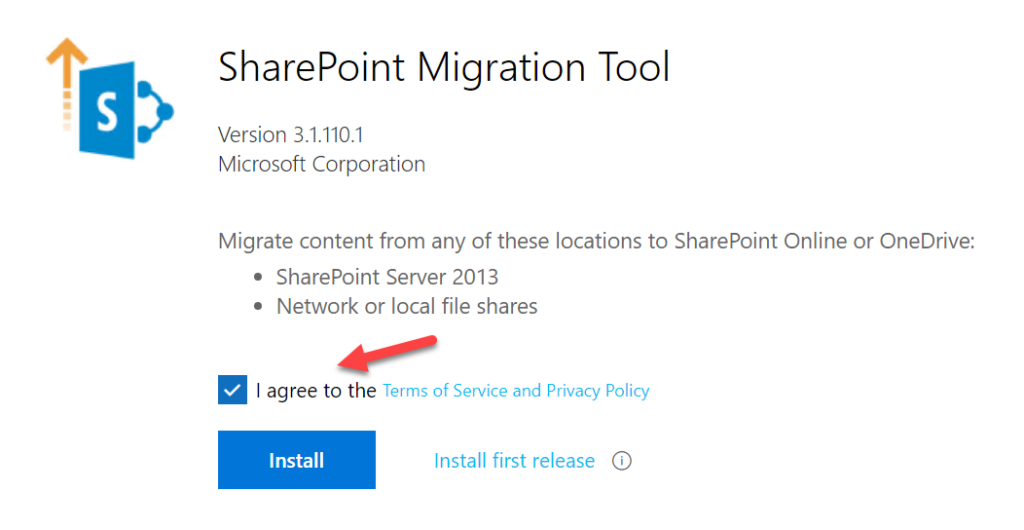
We will want to download the tool on the sever where the HomeDrive is located. Here is the link for the tool. Agree and Install
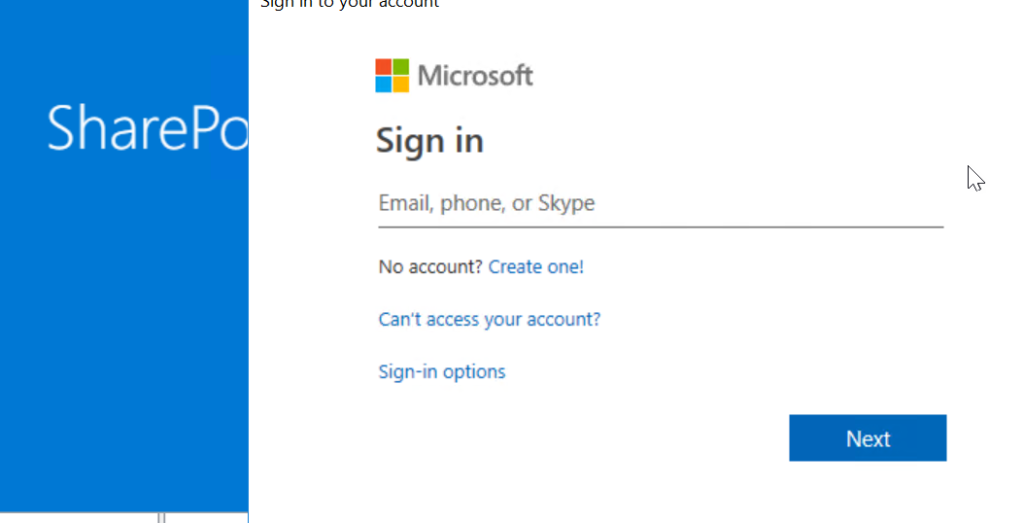
After Installing the tool, sign-in with the global admin credentials that you gave impersonation rights to in the previous section
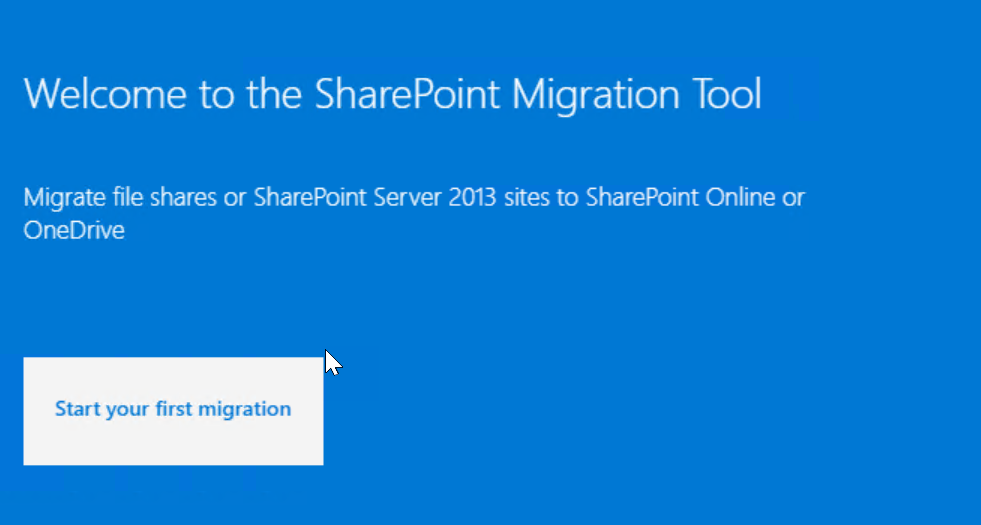
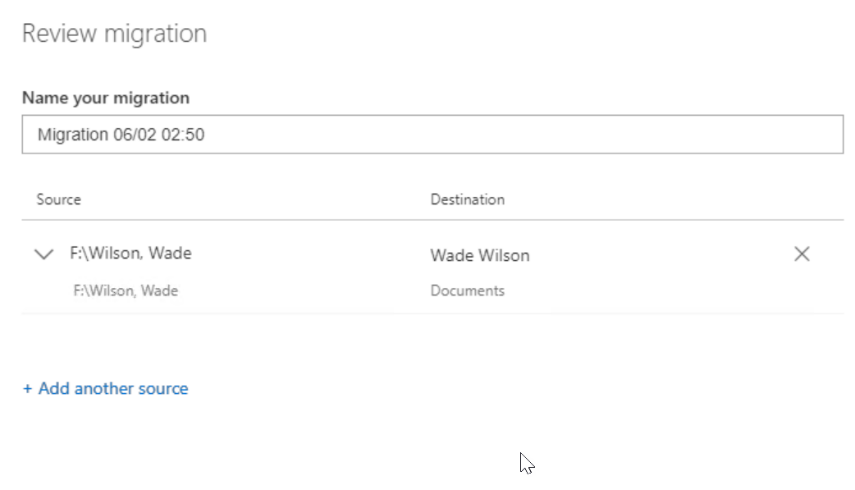
Click start your first migration
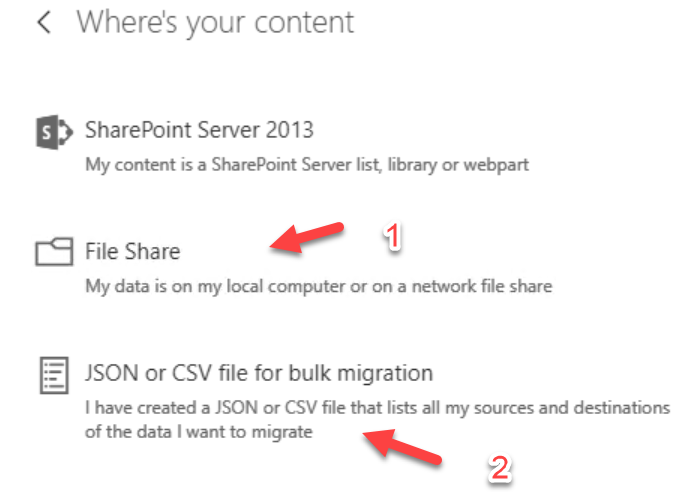
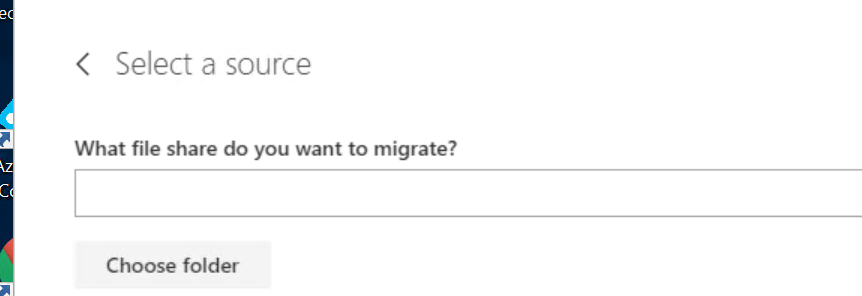
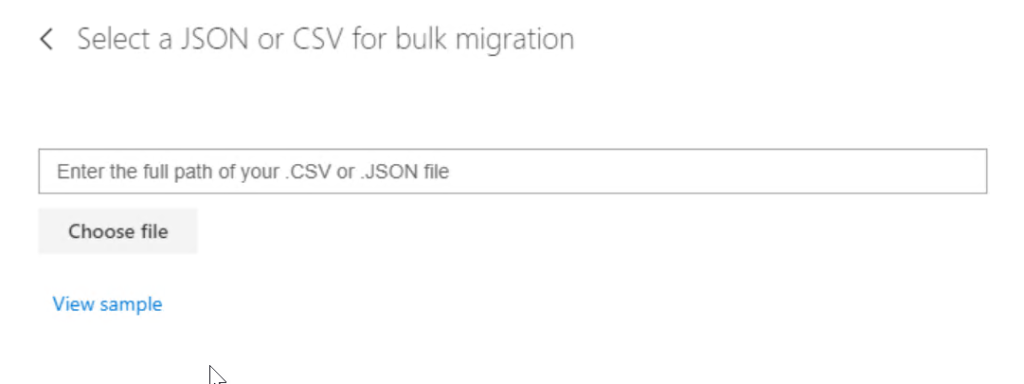
If you only have a few users you are migrating and did not create a CSV, select File Share. If you created a CSV, click that section
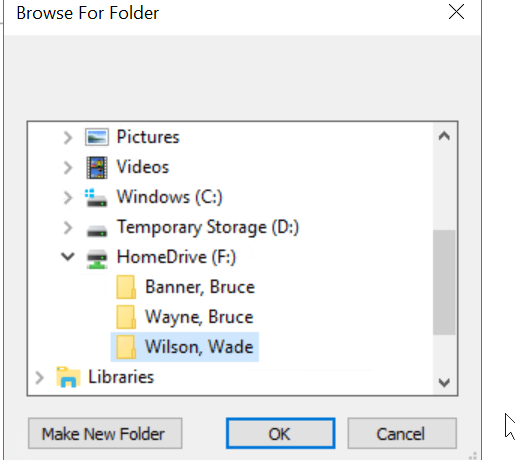
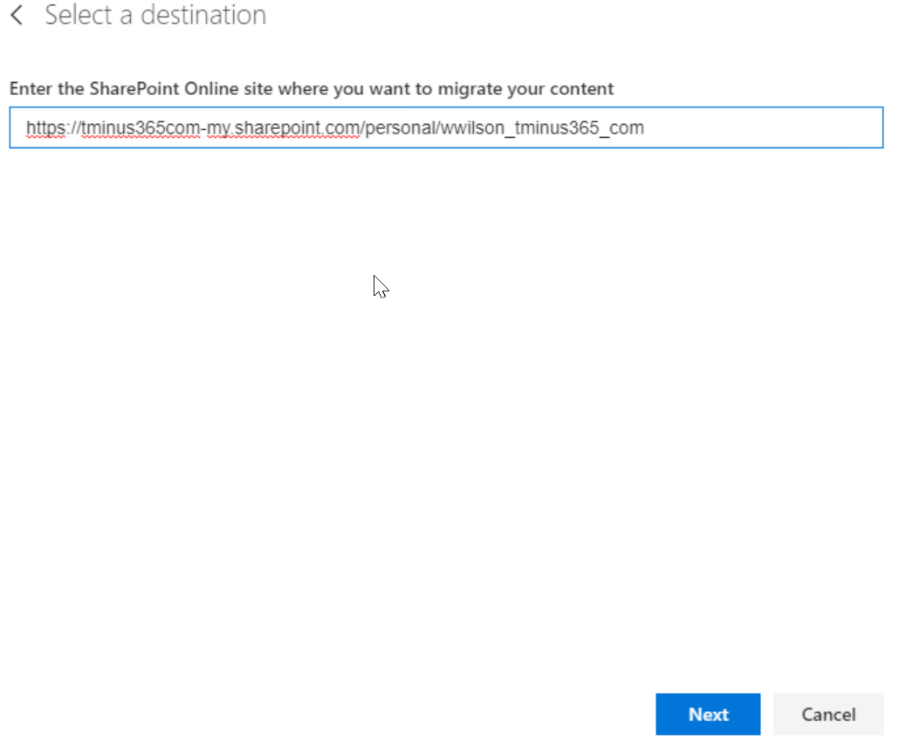
If you have chosen file share, chose the file path of your user and then fill in their SharePoint URL
If you selected CSV you can upload it here
In either case, you will be able to start a batch migration
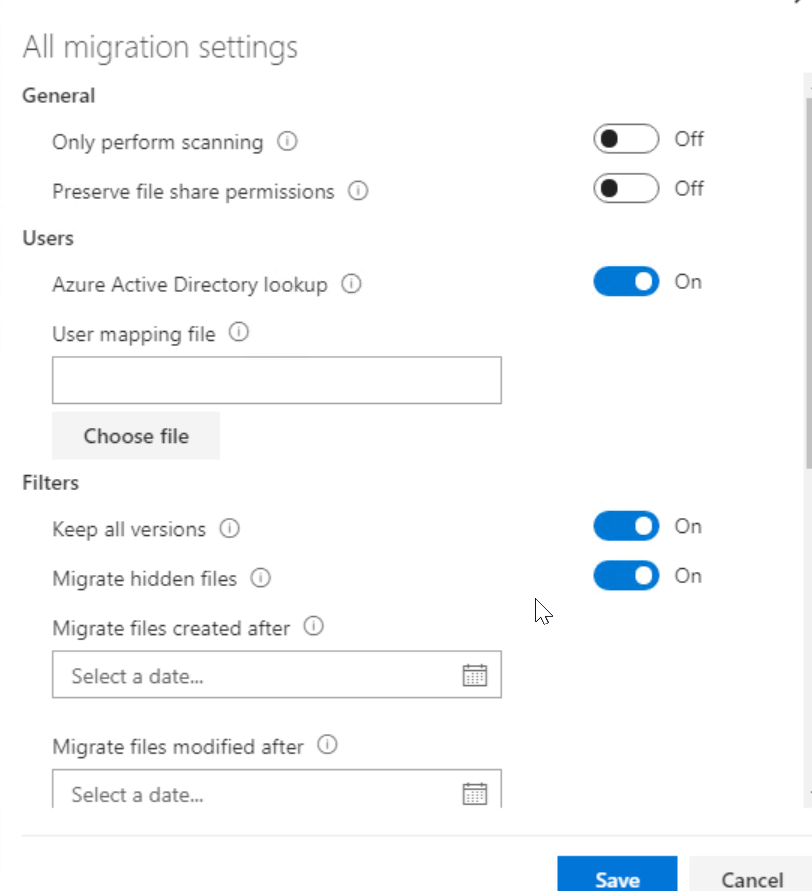
You will have the option to configure many different settings, including the option to migrate data during a specific date range
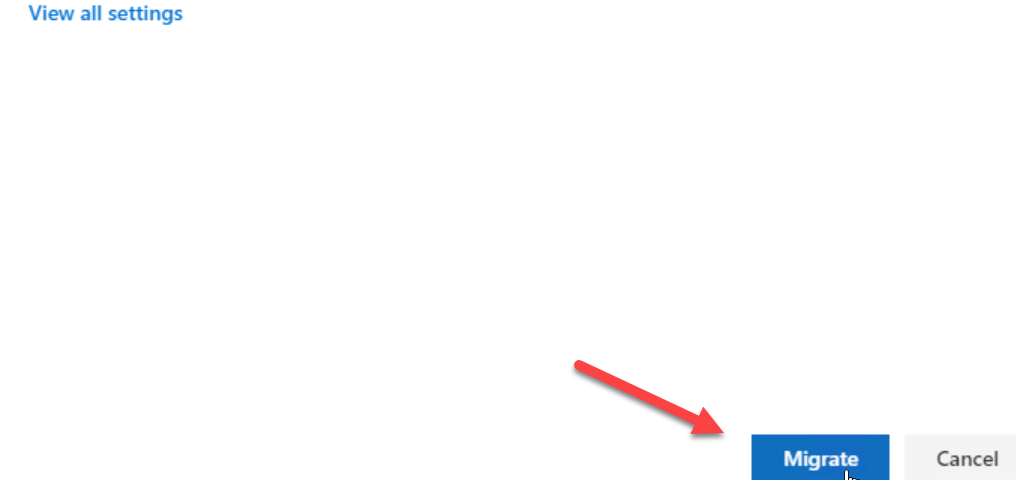
When you are done configuring your settings, you can click migrate to start the job